Related Articles
External recruiter add worker flow
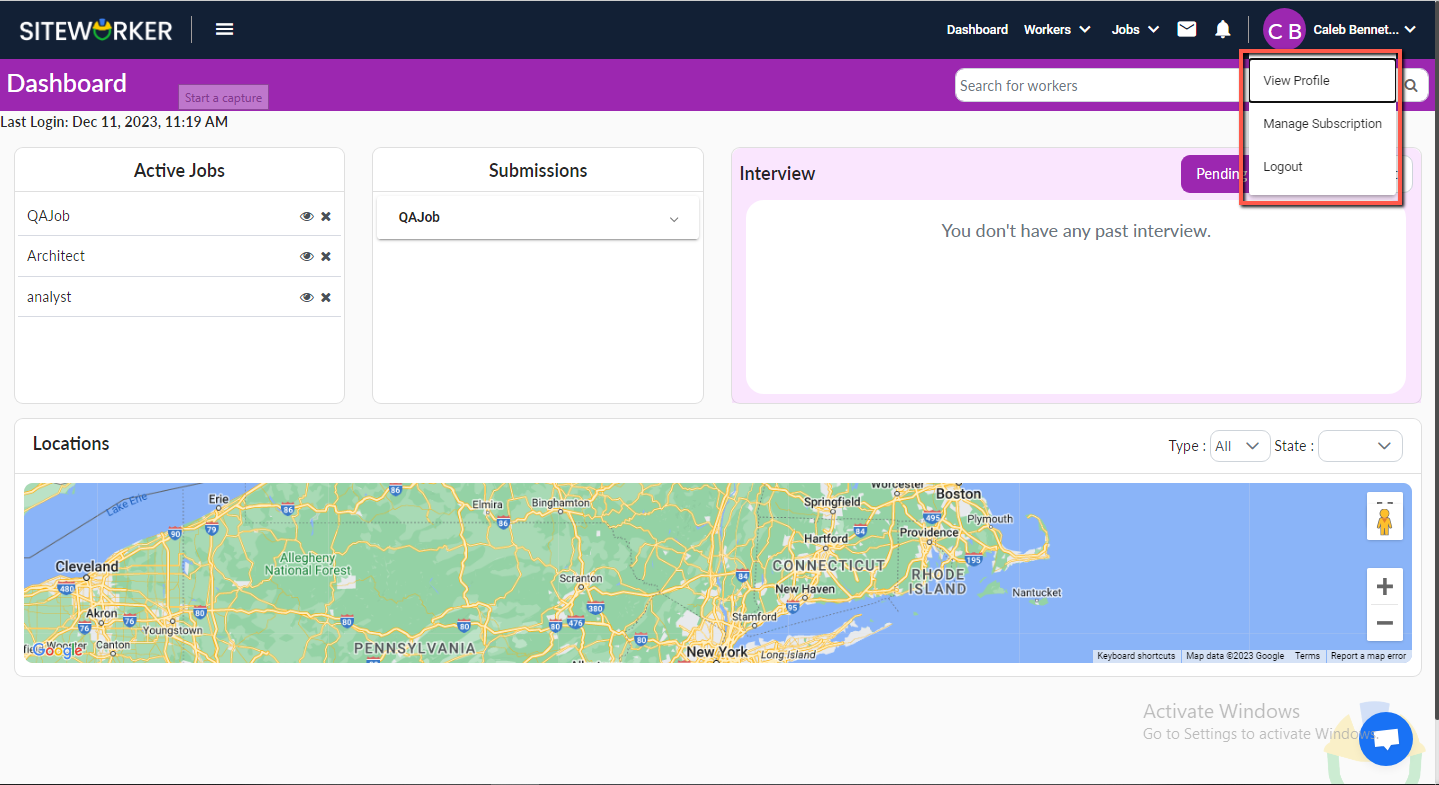
Step 1: Log in to your account you will redirect to the dashboard page.
Step 2: Click on the downward arrow next to your profile name.
Step 3: Click on Manage Subscription.
Upon clicking “Manage Subscription,” you’ll see two types of plans: Monthly and Yearly
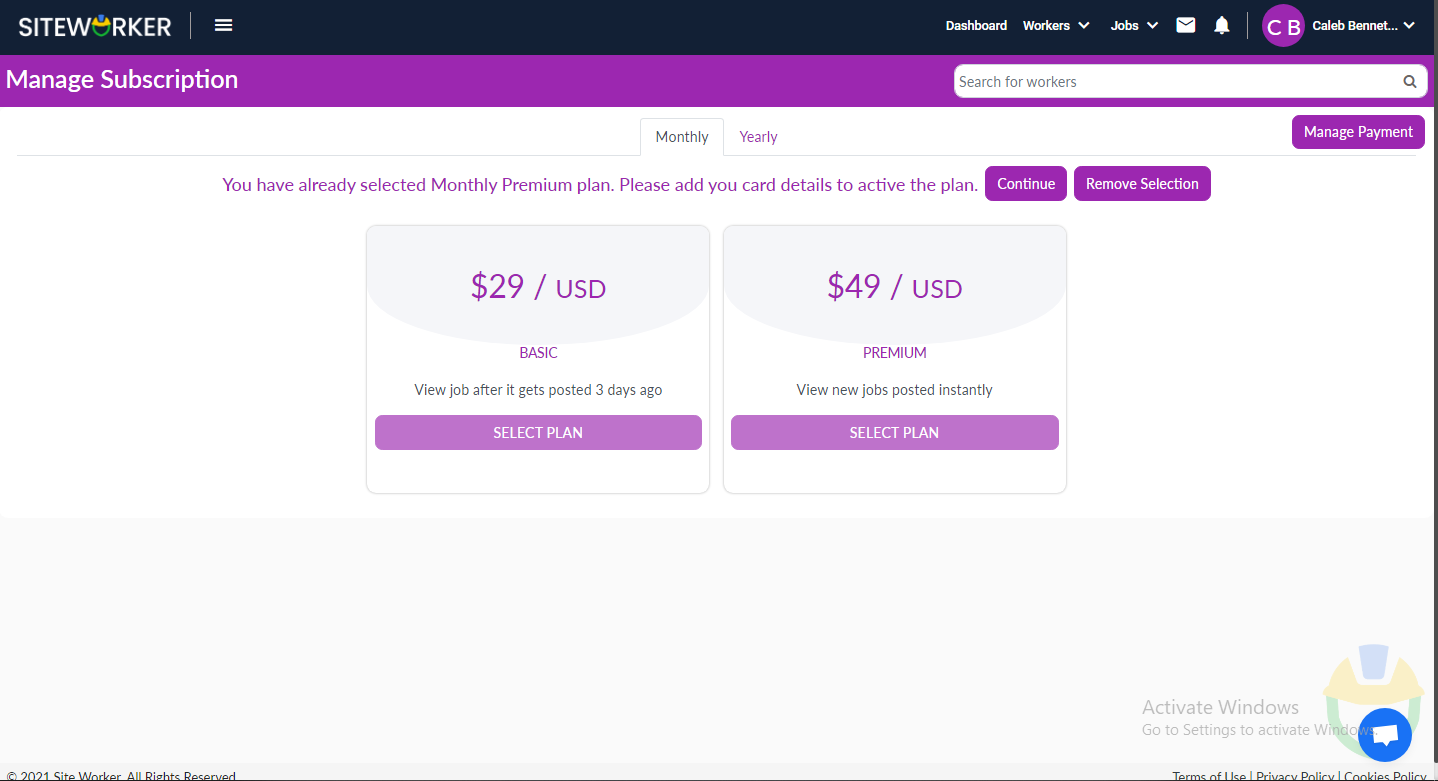
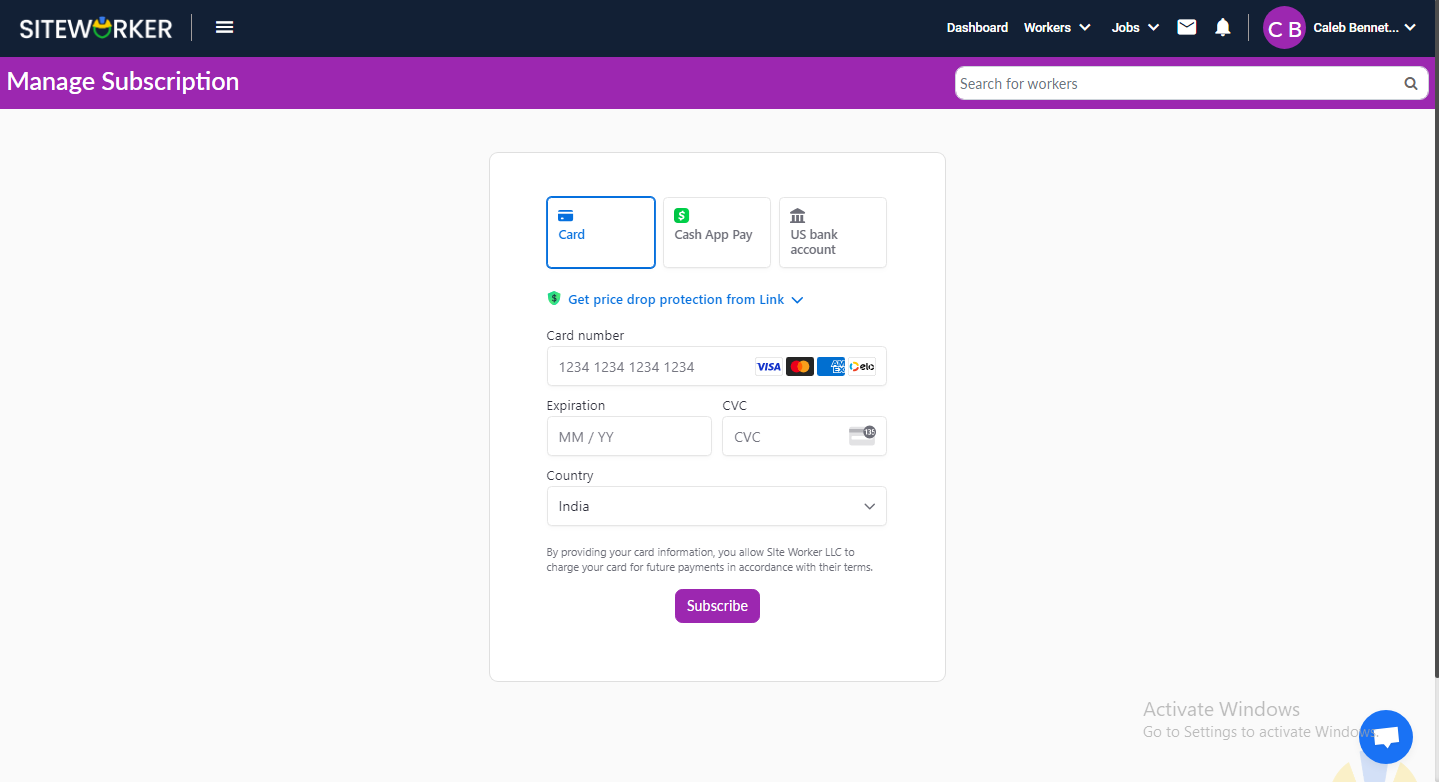
Step 4: To activate a plan, Click on the “Continue” button to activate a plan. You’ll be redirected to the following payment page.
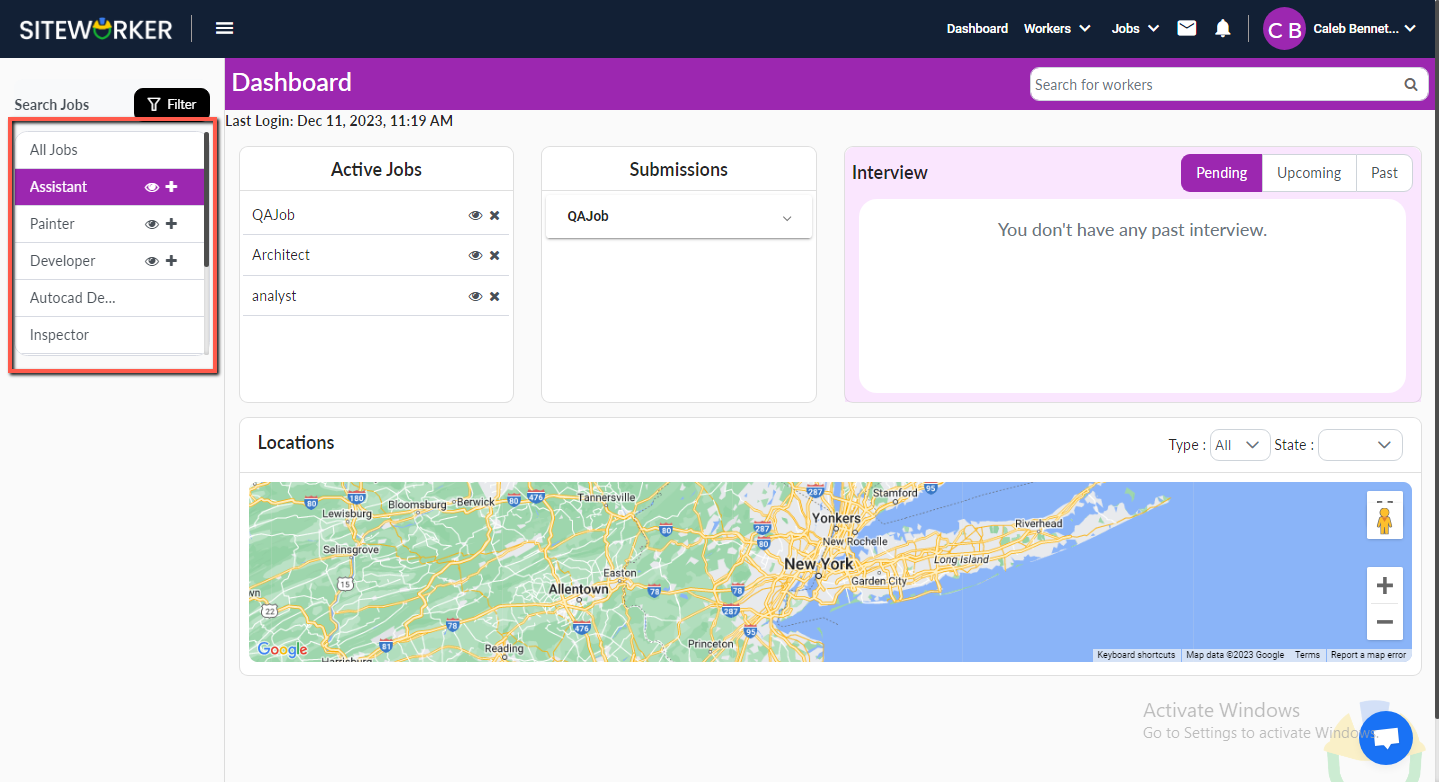
Step 5: You’ll see job listings on the left-hand side, displayed according to your subscription plan.
– Active a job by + button.
– View icon to see job details.
Step 6: Go to Worker Details > Workers > Add Worker in the top menu to add a worker.
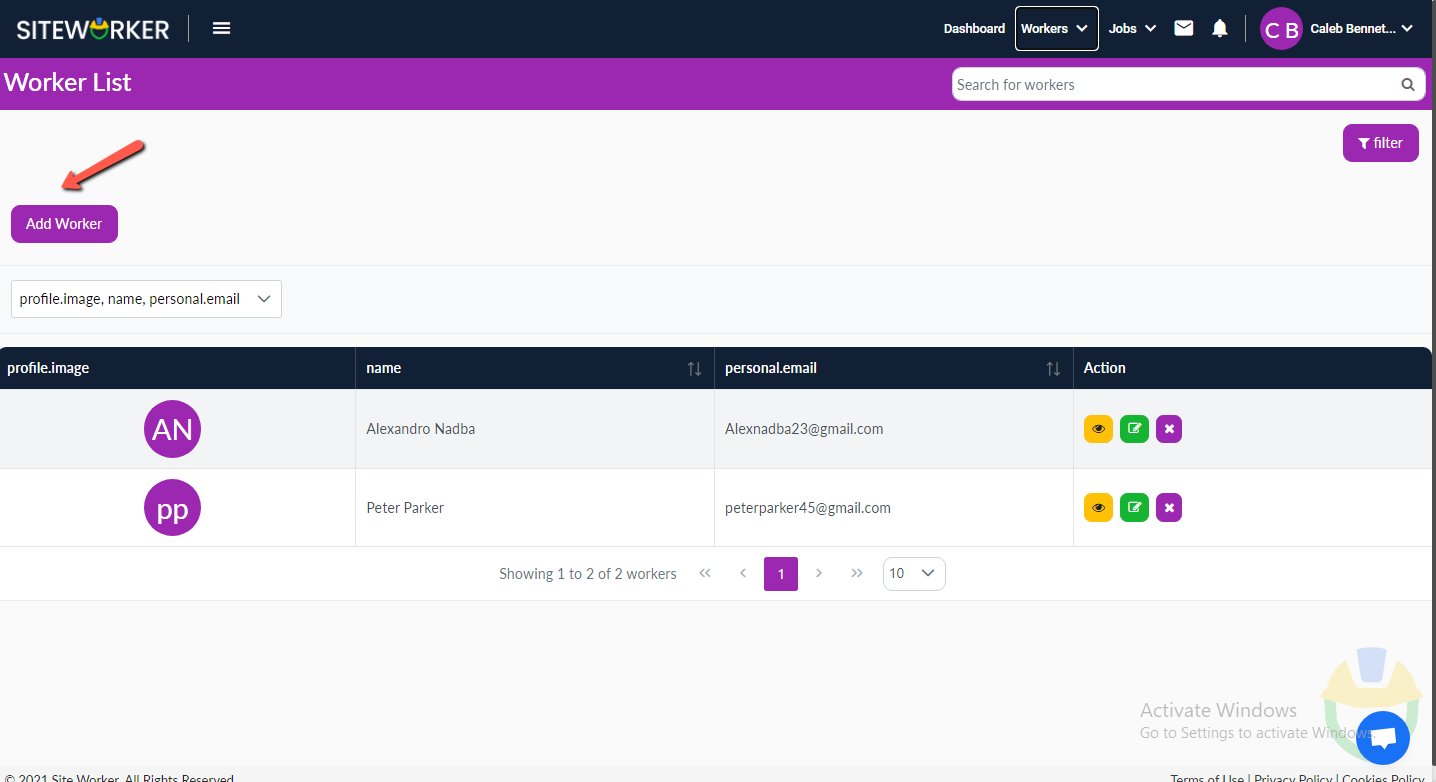
Step 7: Click on the “Add worker” button, and you will get redirect to first step.
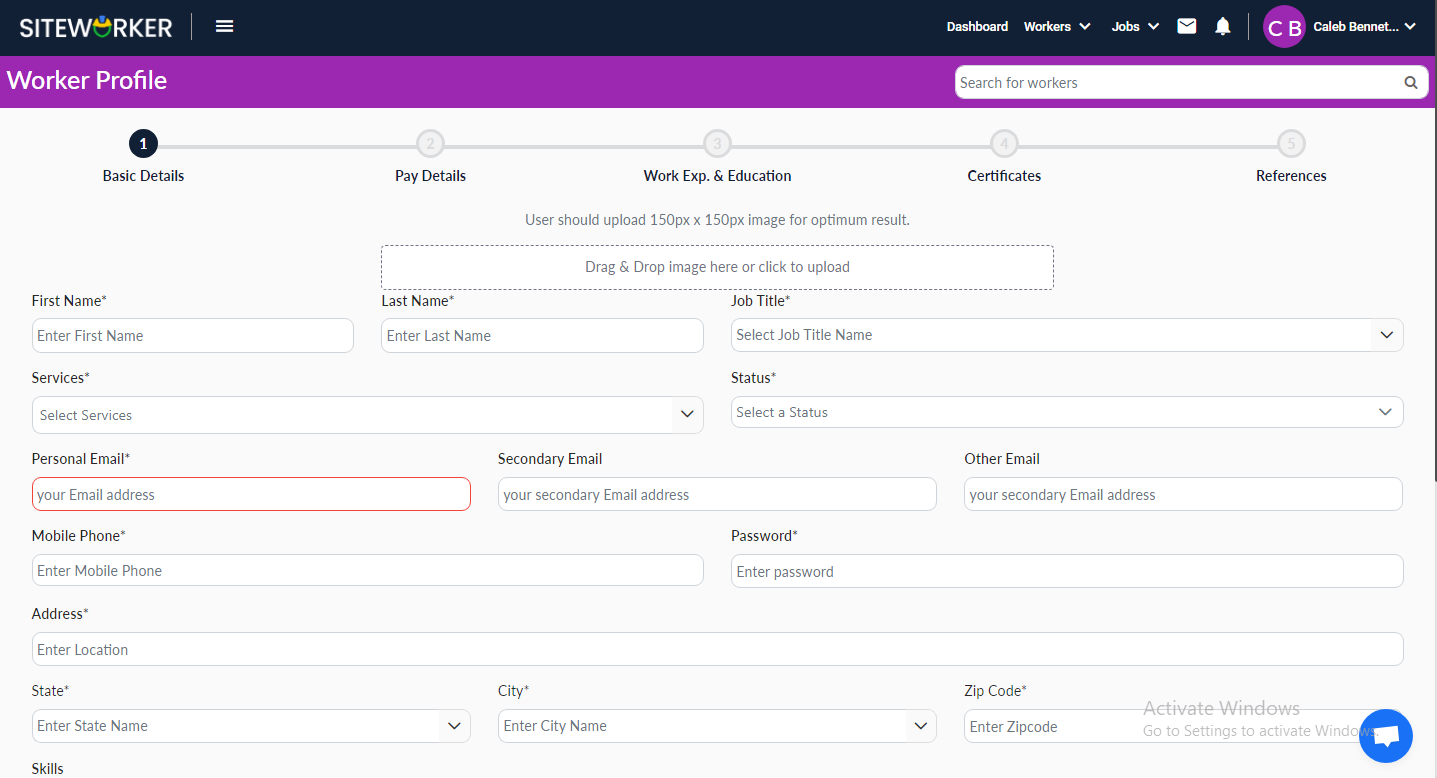
Step 8: Complete Step 1 (Basic Details).
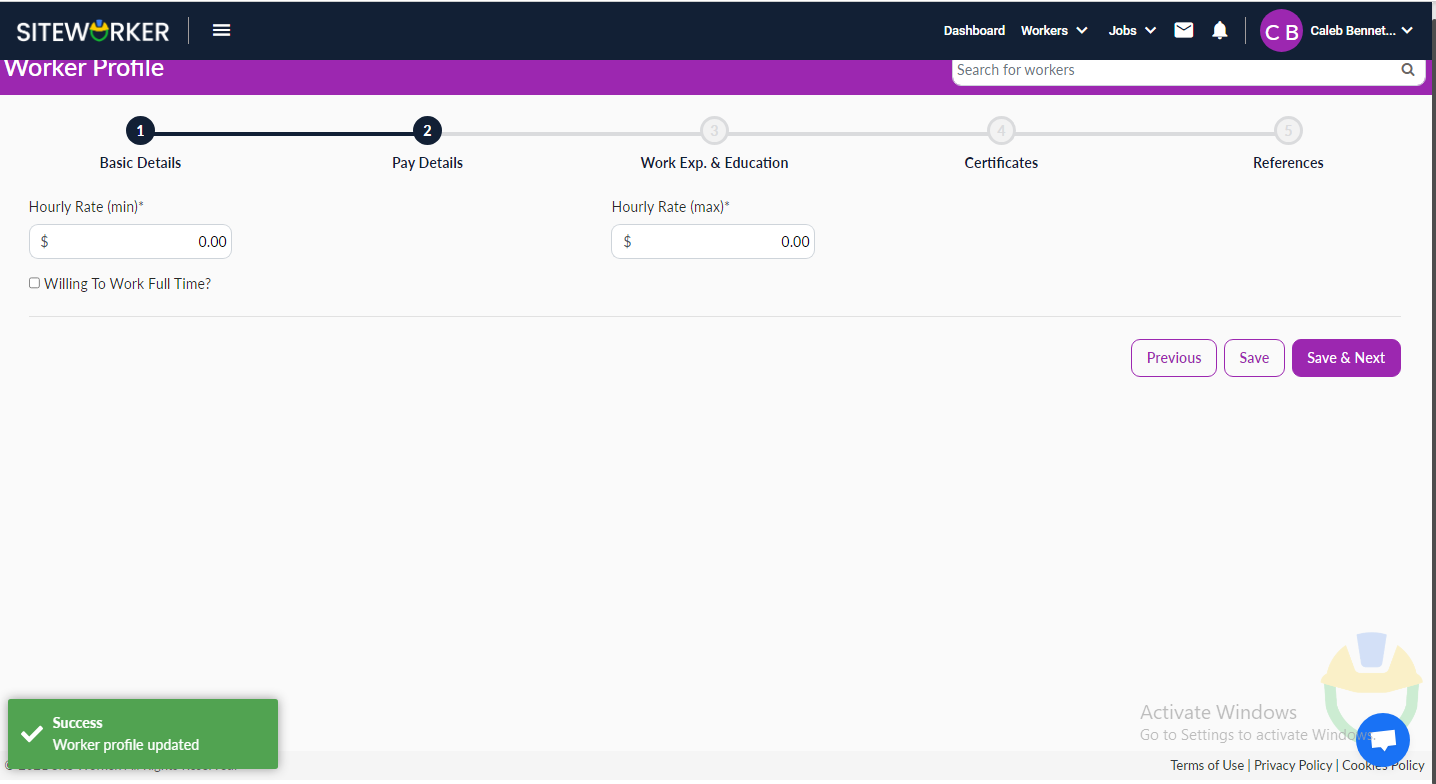
Step 9: Complete Step 2 (Pay Details).
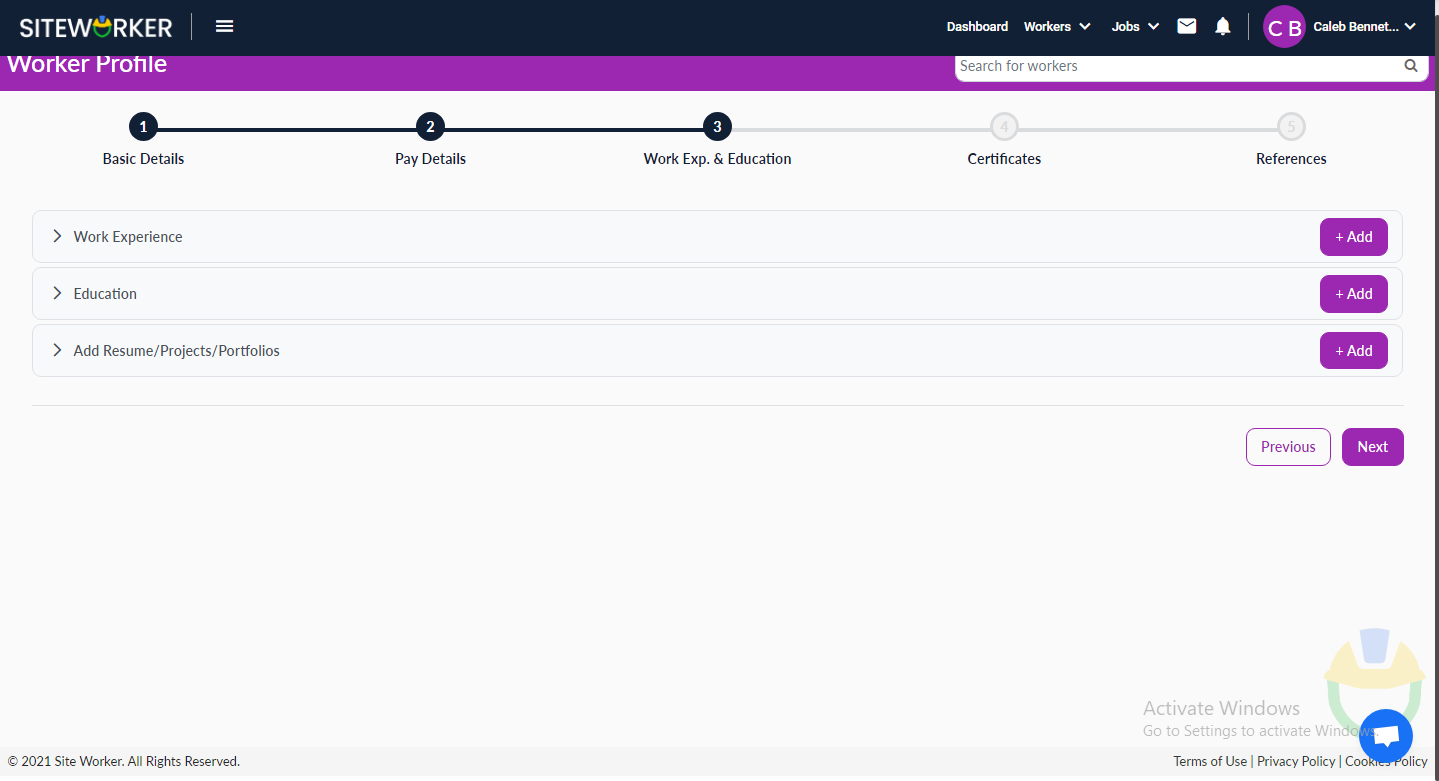
Step 10: Complete Step 3 (Work Exp. & Education).
Step 11: Complete Step 4 (Certificates).
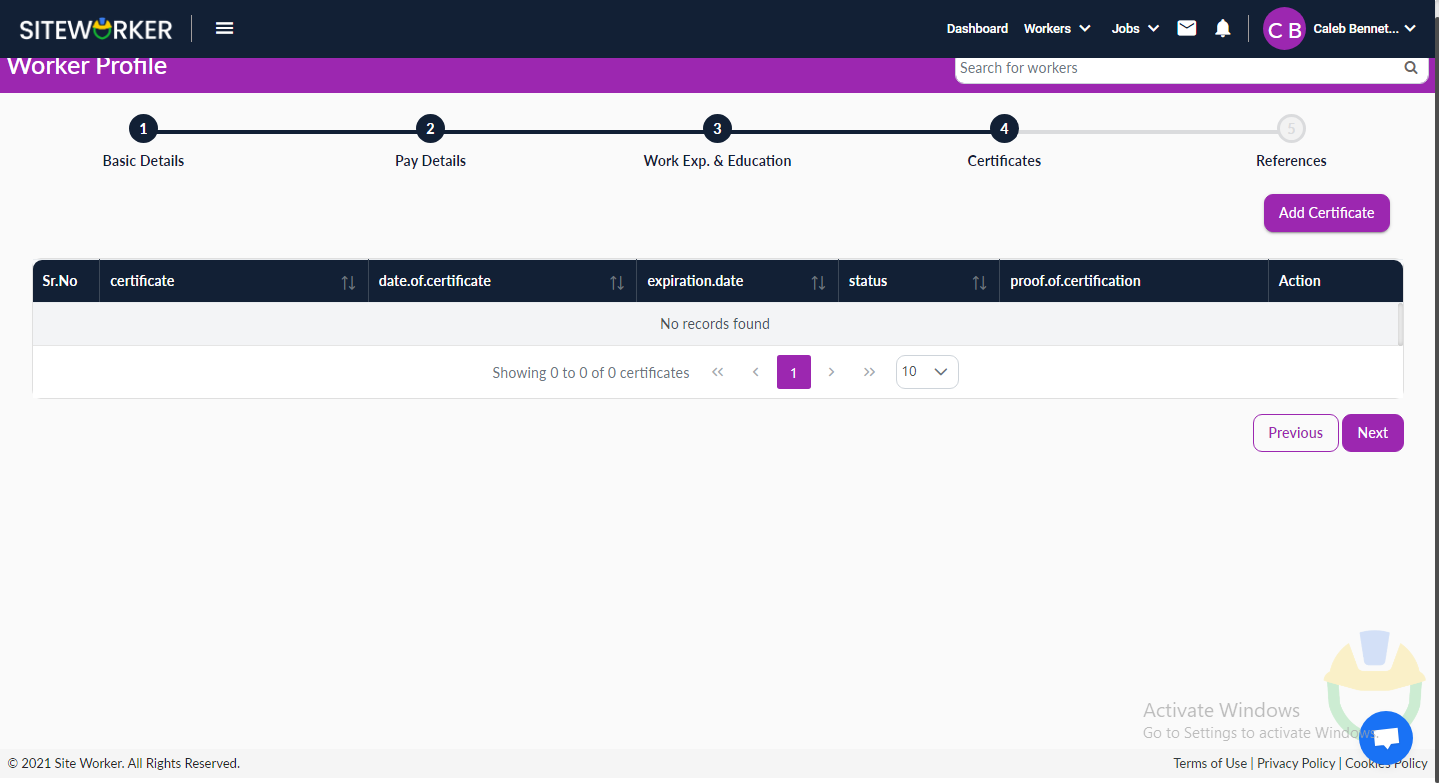
– Click on the “Add Certificate” button. Add a certificate in the pop-up form.
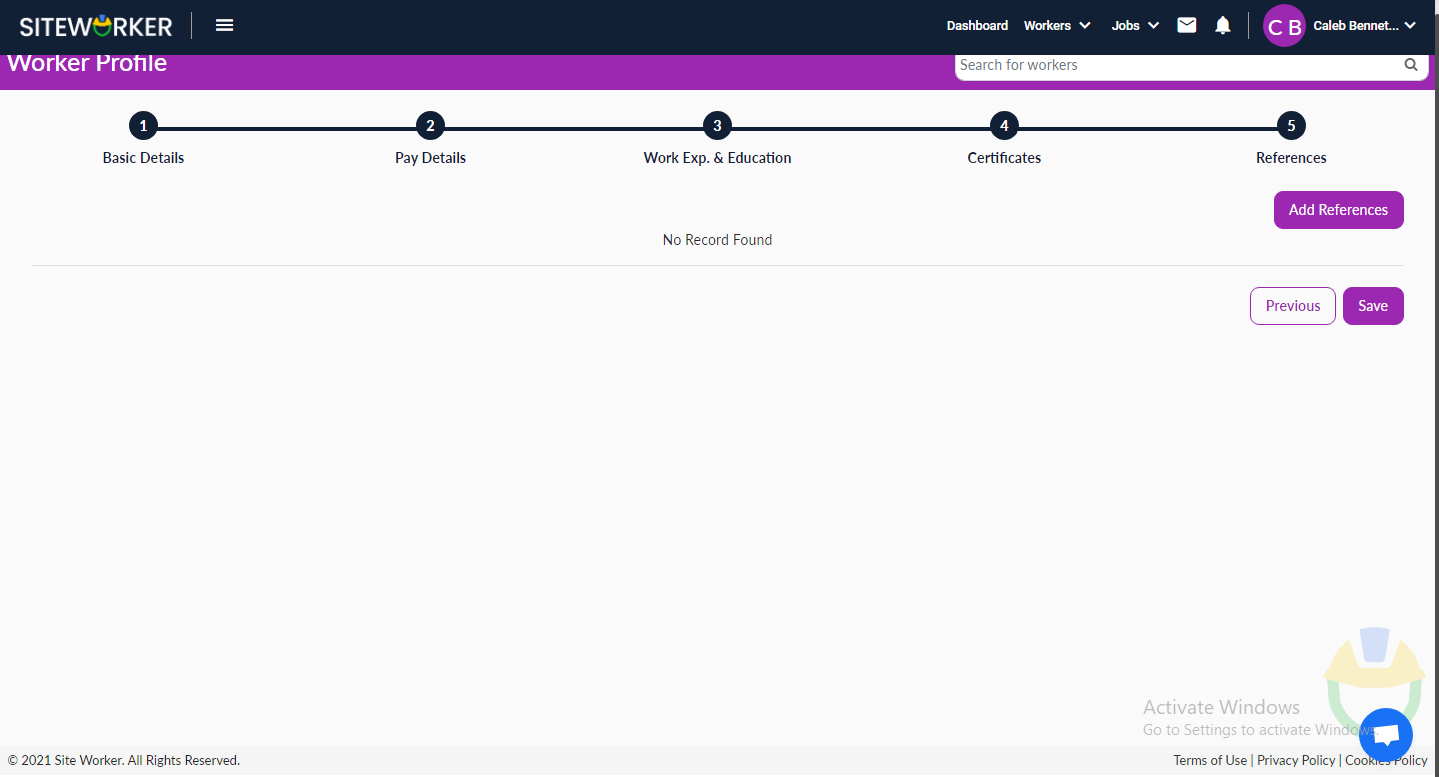
Step 12: Complete Step 5 (References).
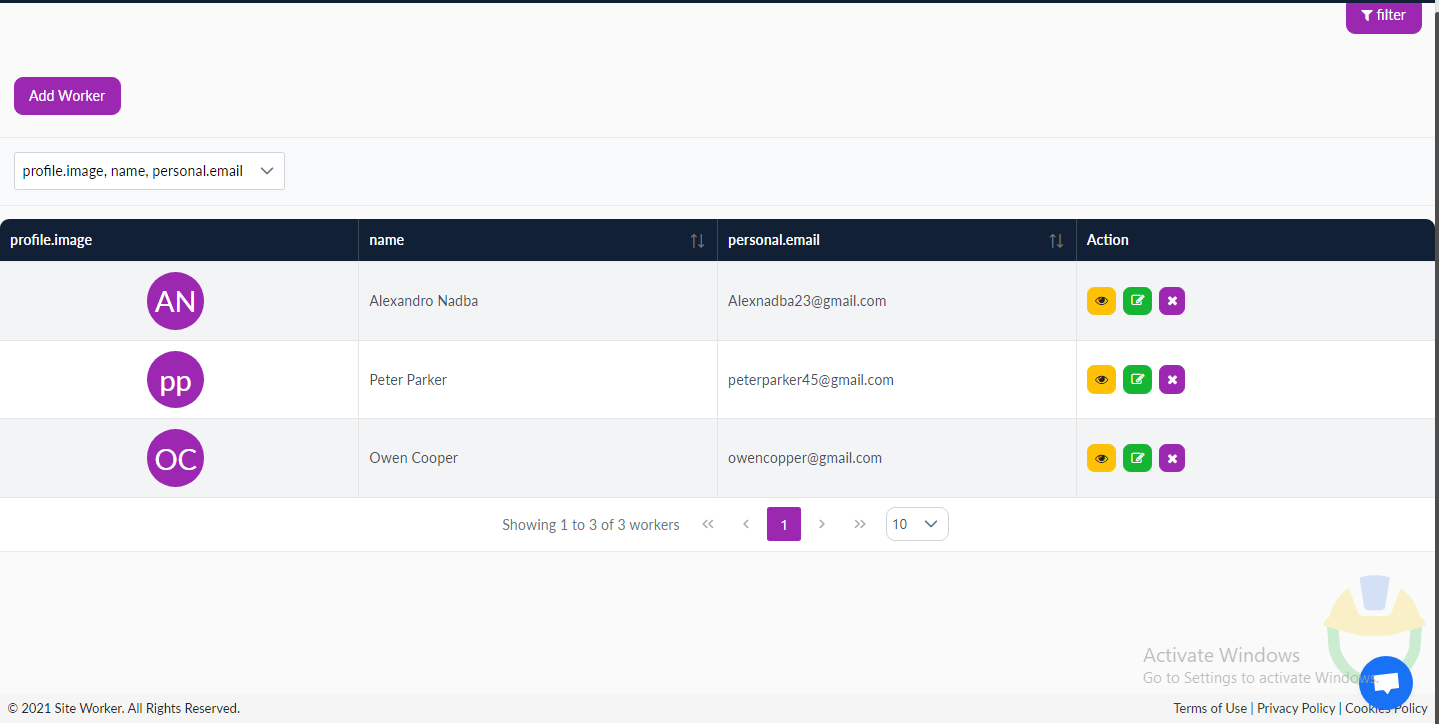
Step 13: Now, you’ll be redirected to the worker listing page.
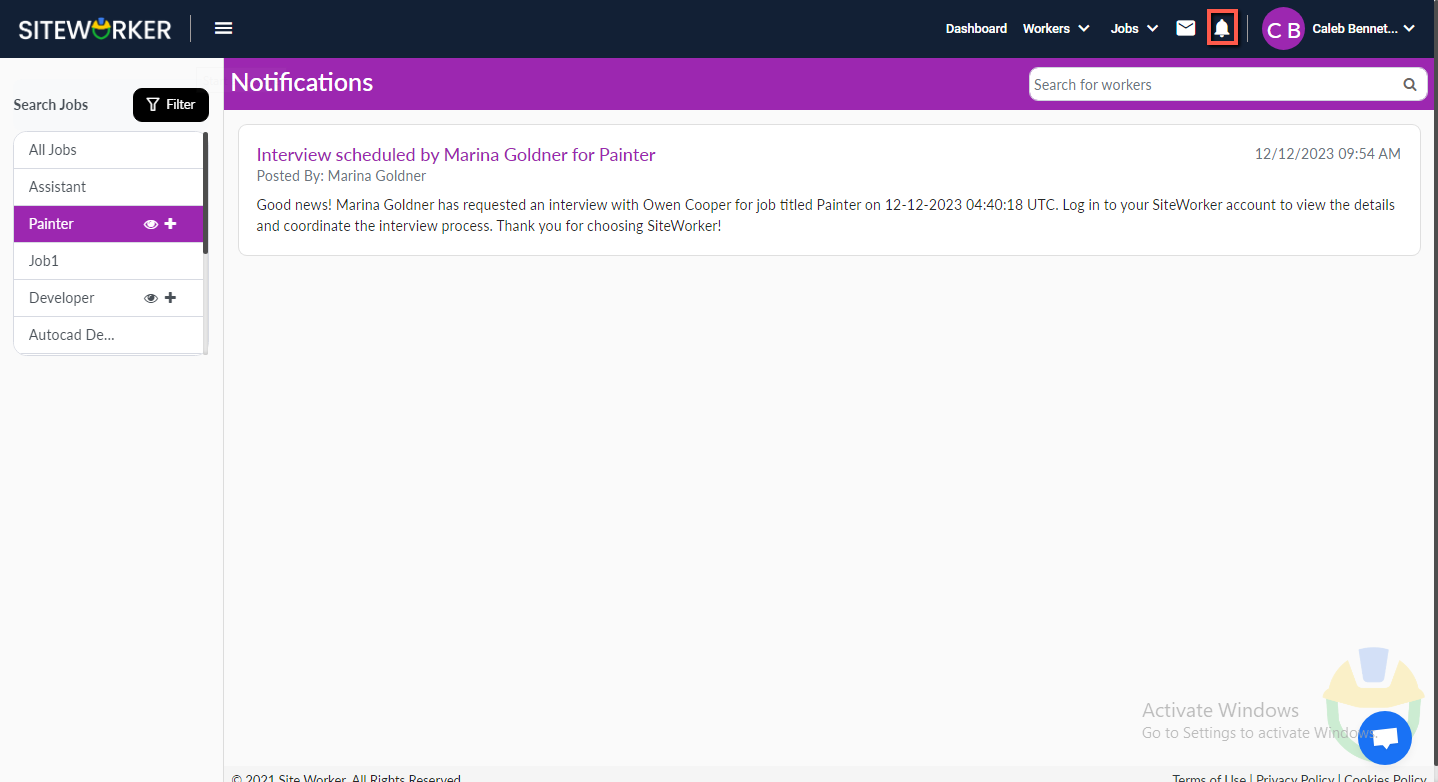
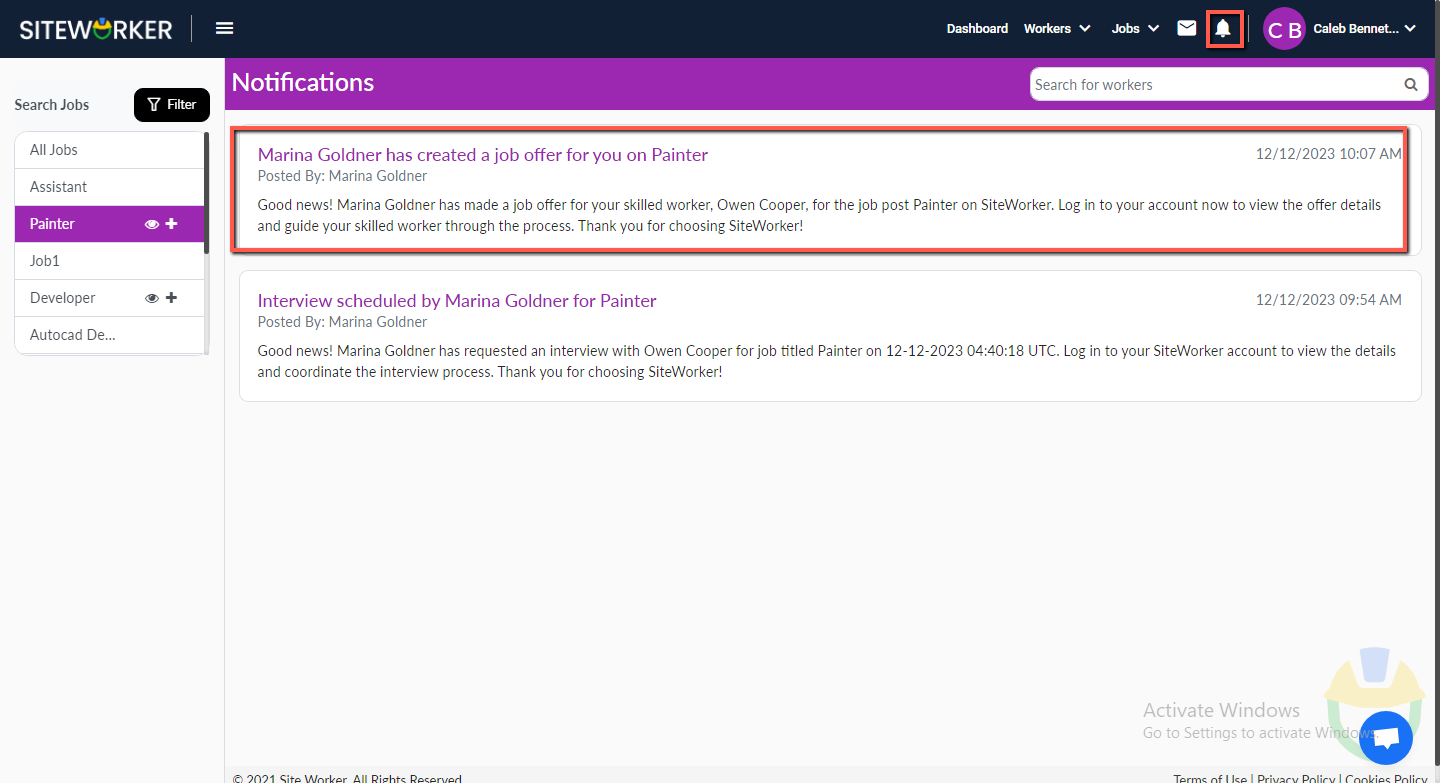
Step 14: Once the client has scheduled the interview you will receive a notification. Click on the bell icon in the top menu to view the notification.
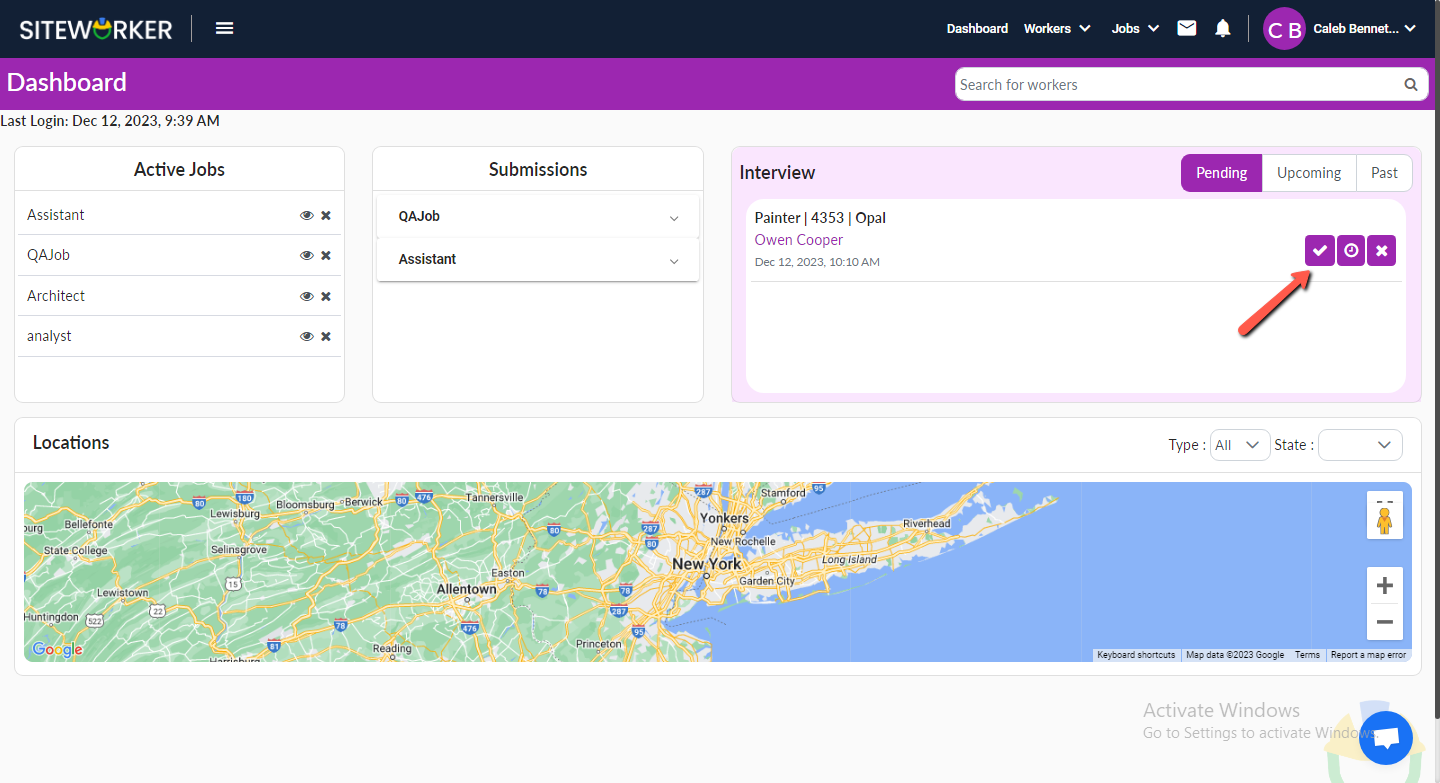
Step 15:Go to dashboard > Interview section to see the interview schedule.
– Click on the Approve icon to approve the schedule.
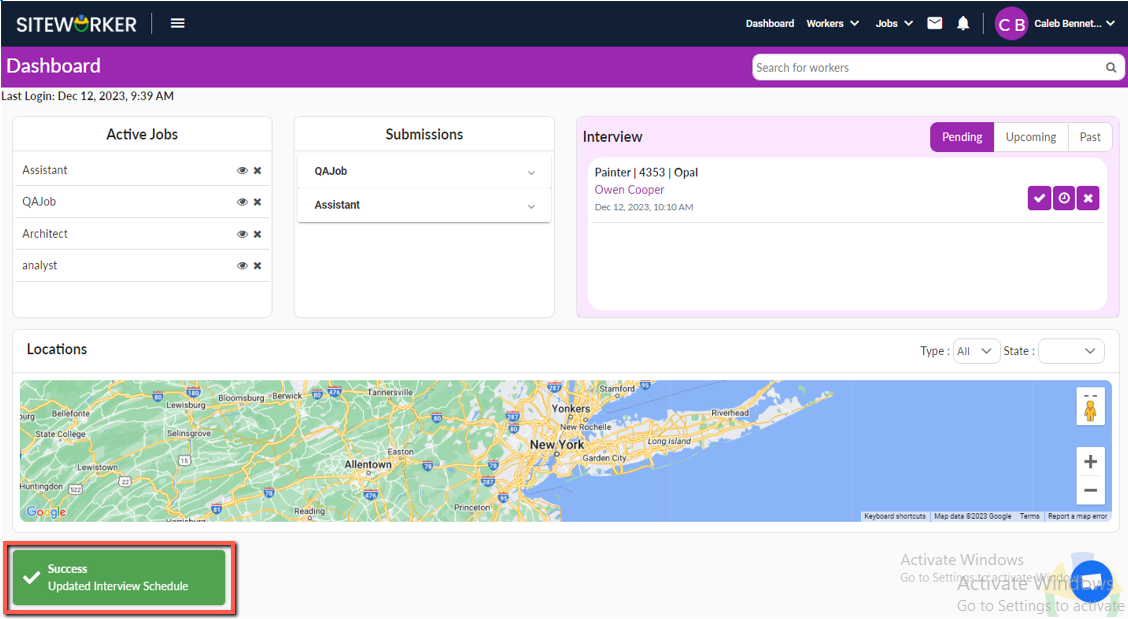
– You’ll see the success message on your screen.
Step 16: The client creates a job offer and you receive a notification.
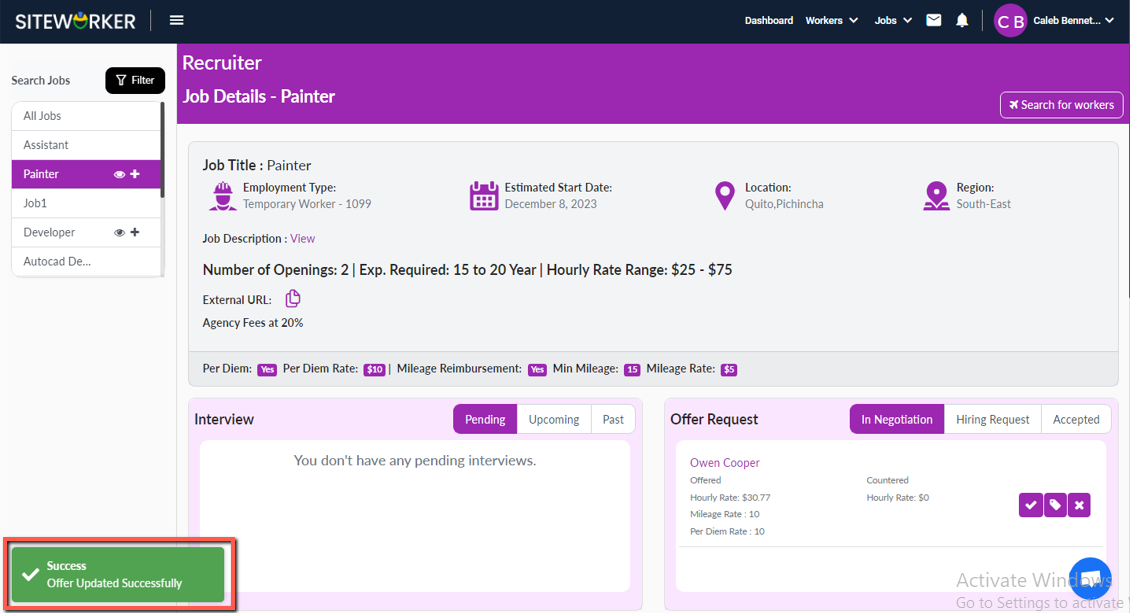
Step 17: Go to the notification title > job details page > Offer Request section > In Negotiation to view the offer request.
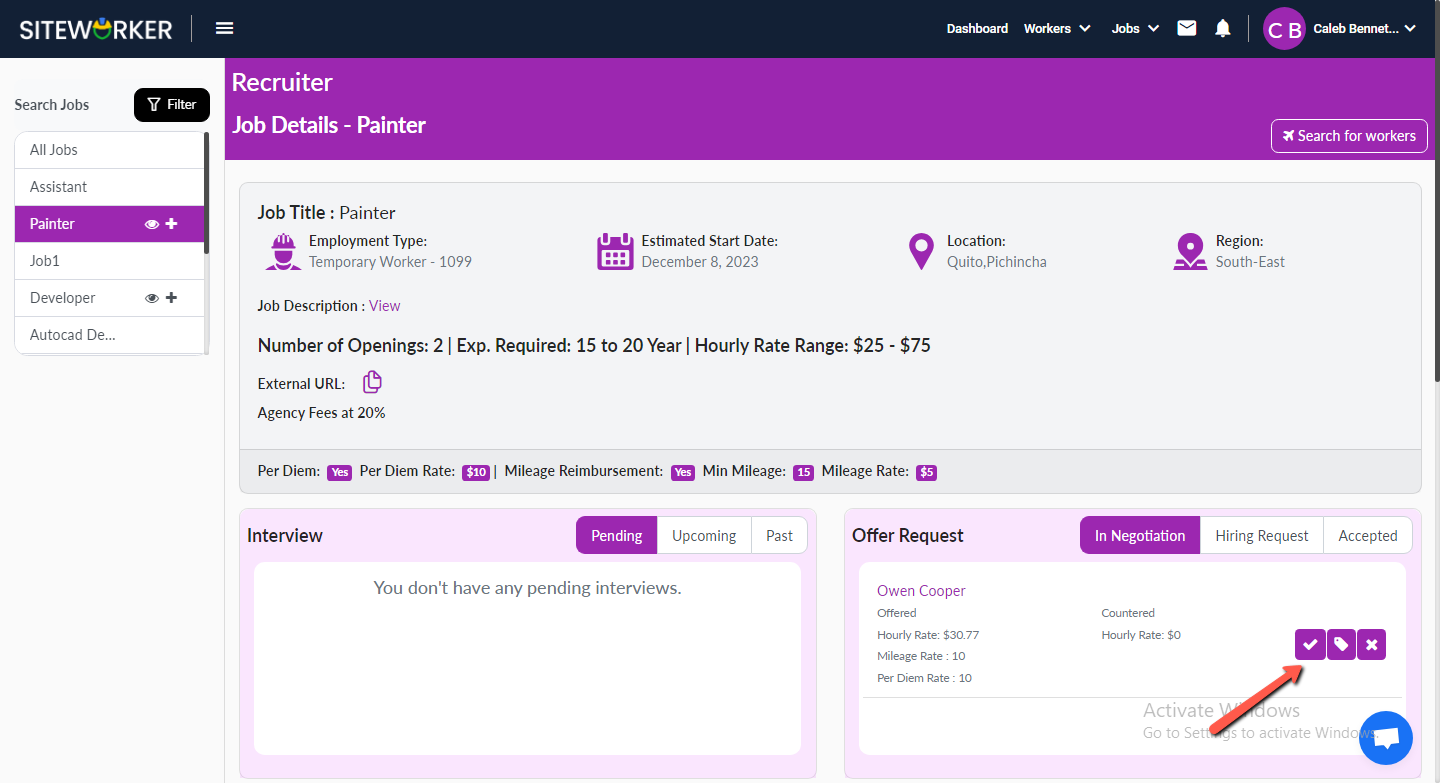
– Click on the Approve button and you’ll see the following message.
Step 18: You will get the notification once the client accepts the hire request.
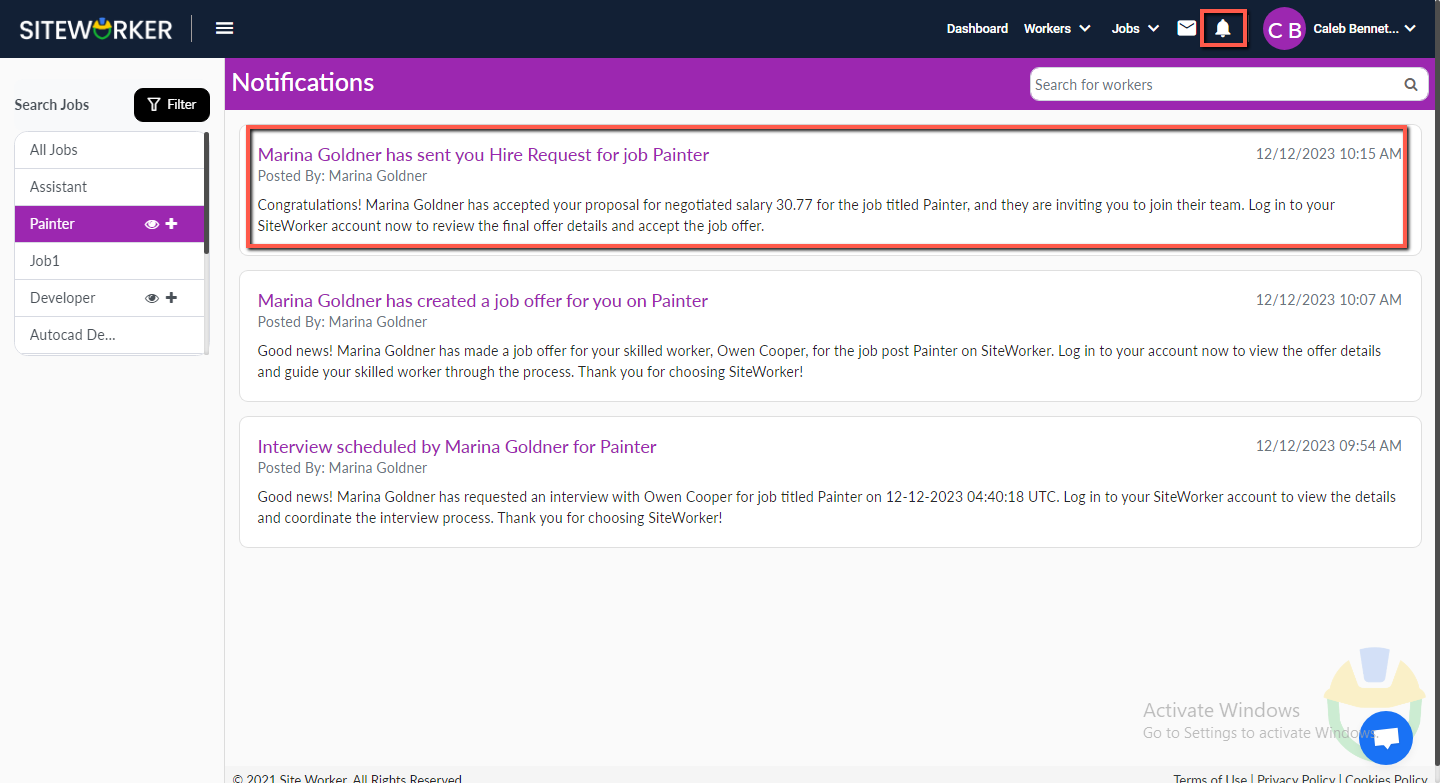
Step 19: Click on the notification title or eye icon next to the job name. You’ll see the worker in the Hiring request tab.
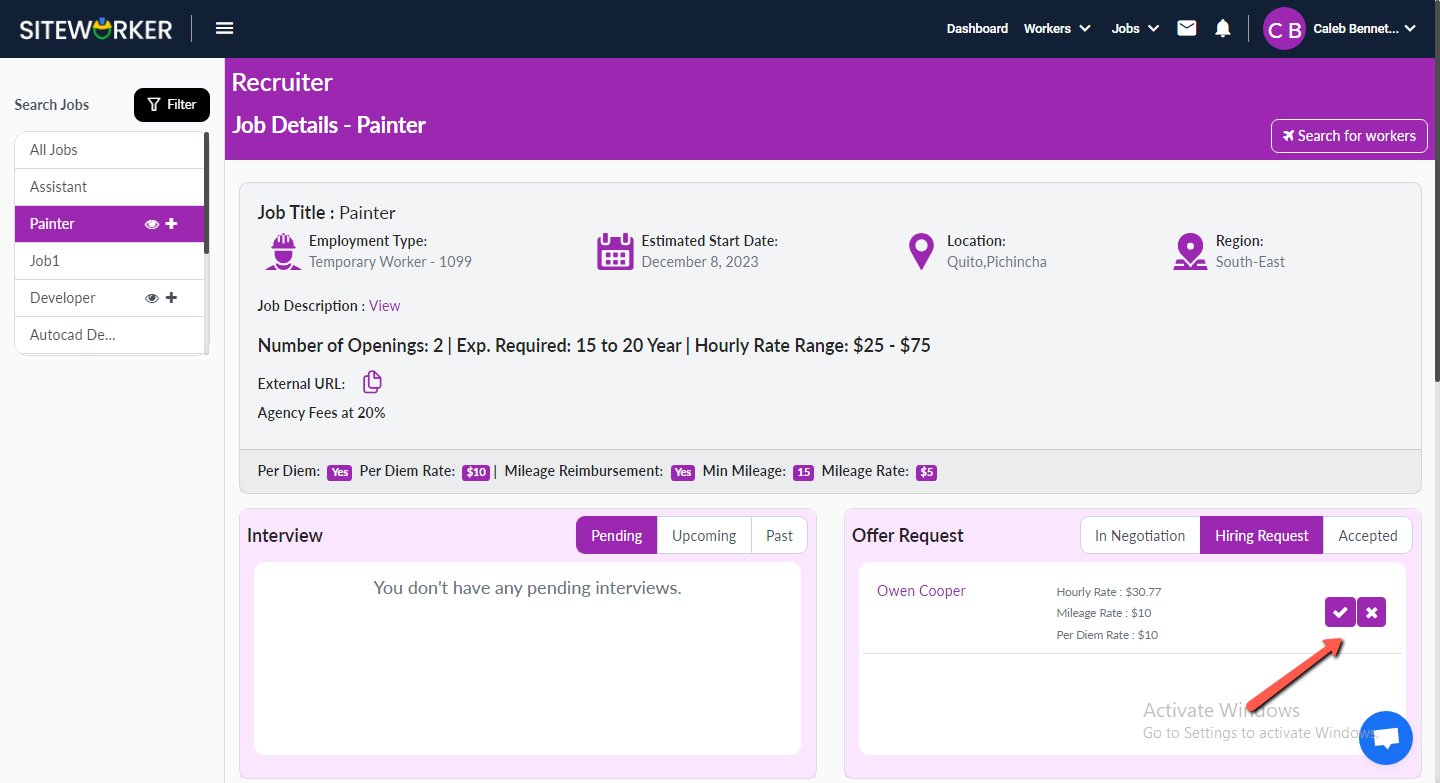
– Click on the approve button of Hiring request and you’ll see the success message.
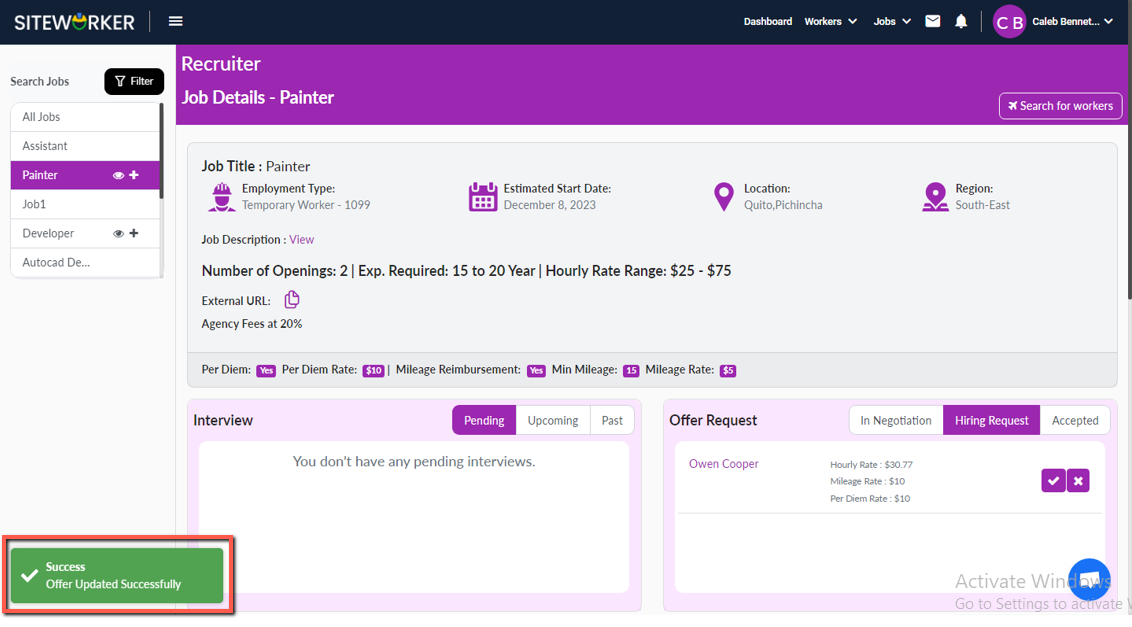
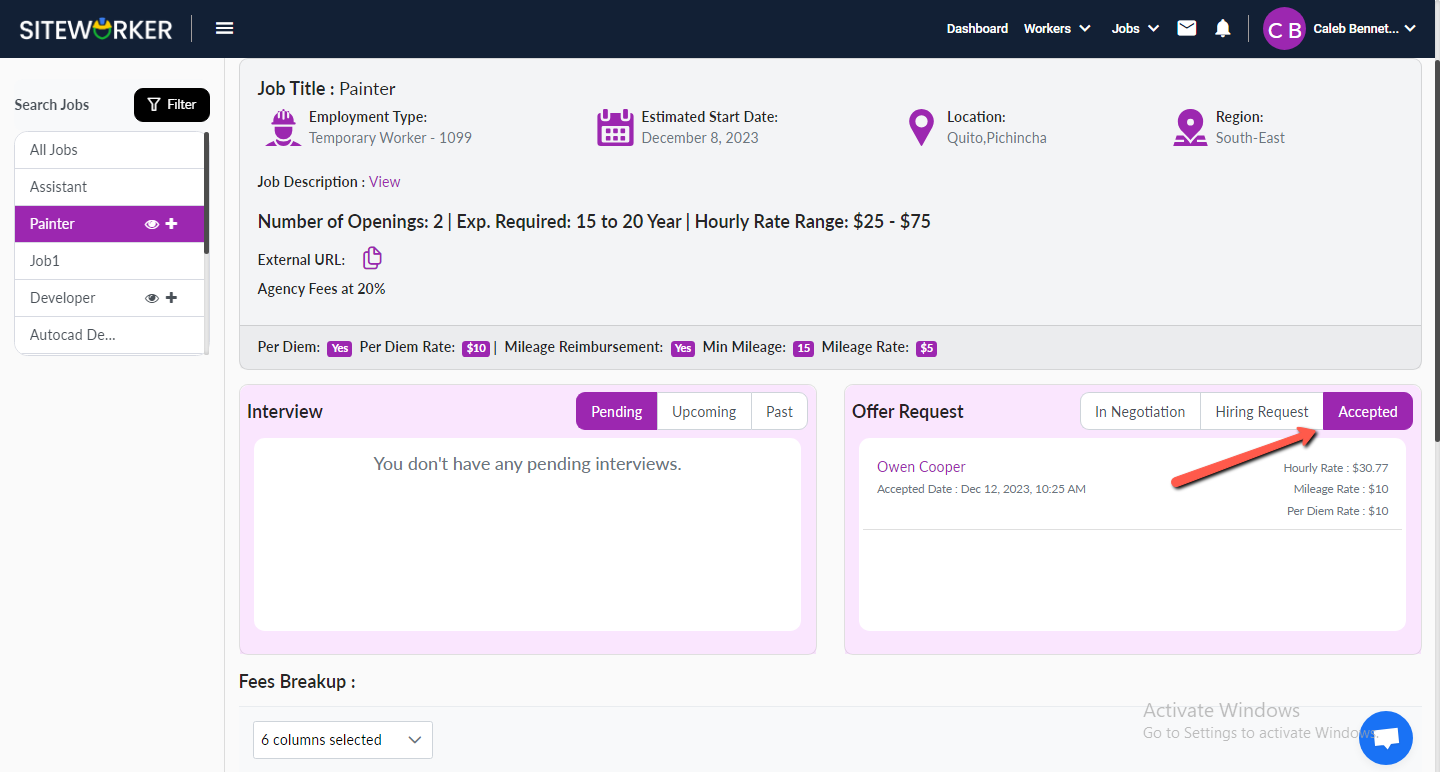
– Once successfully accepted, you will see the following screen.
Step 20: Check your email for an invitation from InTuIt and accept it via the provided link.
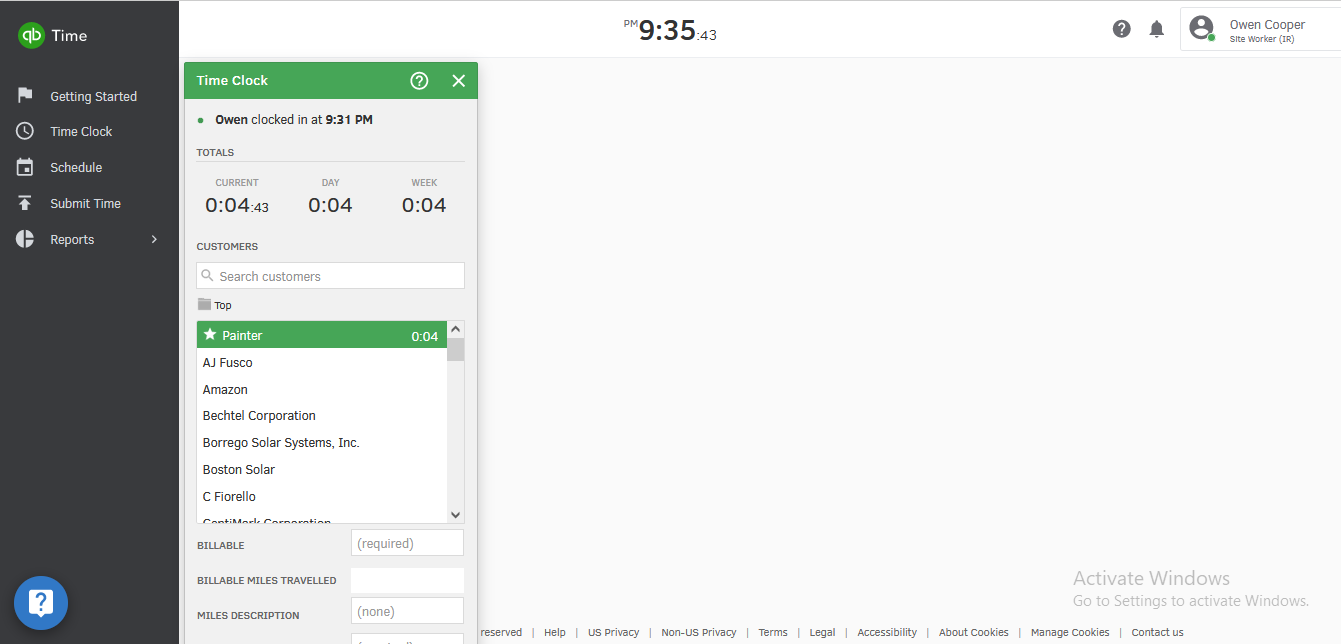
– Once the process is complete, sign in to InTuit.
– Click “Clock In” using the time clock popup form.
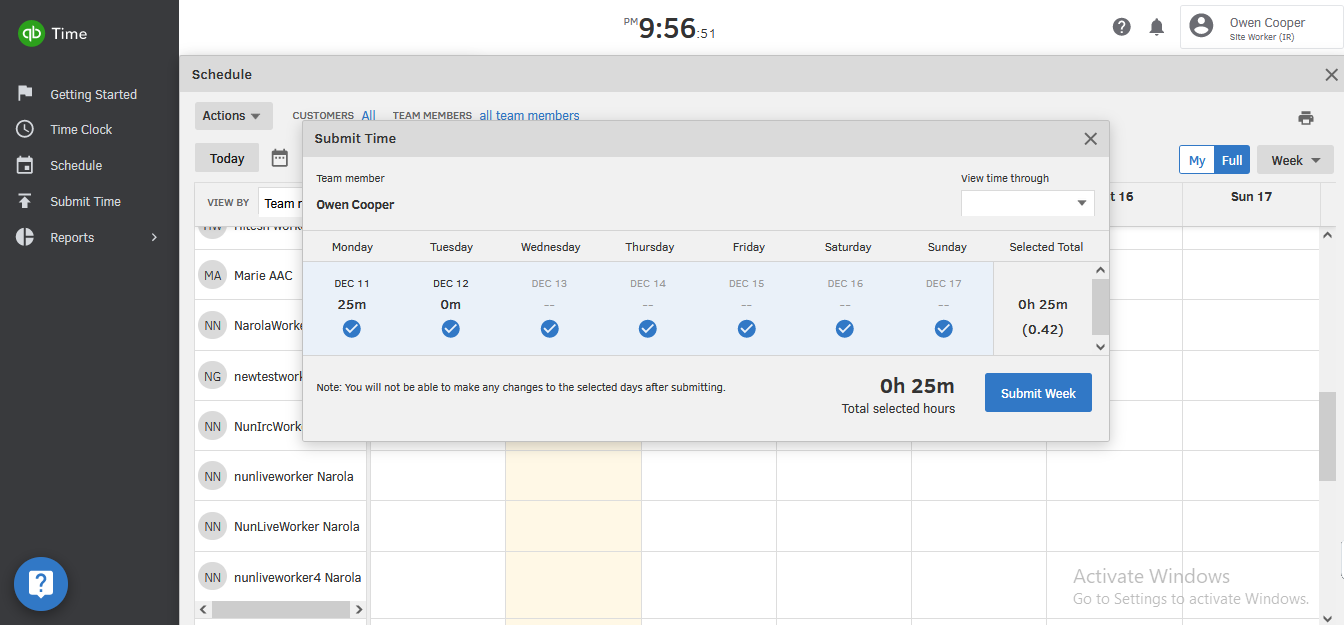
Step 21: Submit time on The following screen
Step 22: Go to My Jobs >Timesheet in the top menu.
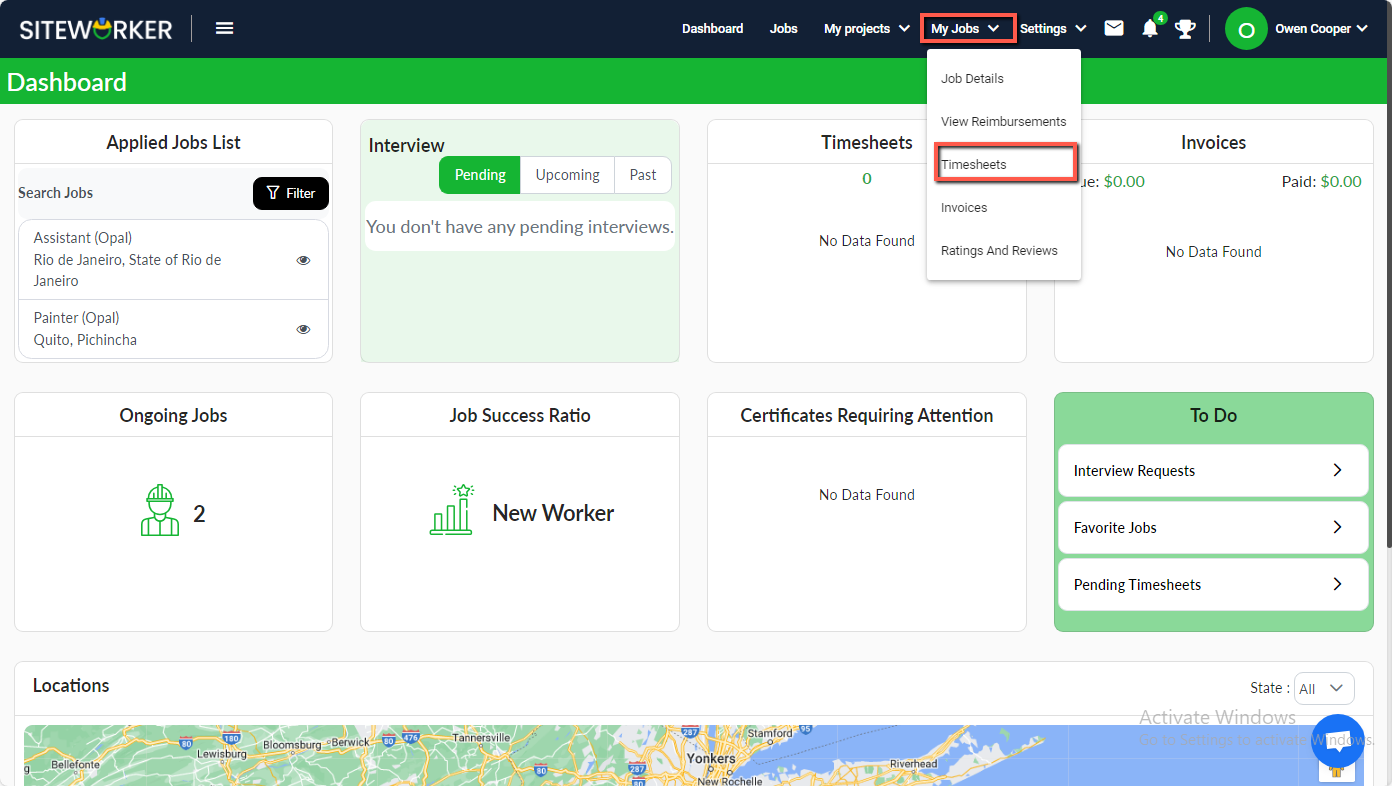
– The following screen will appear.
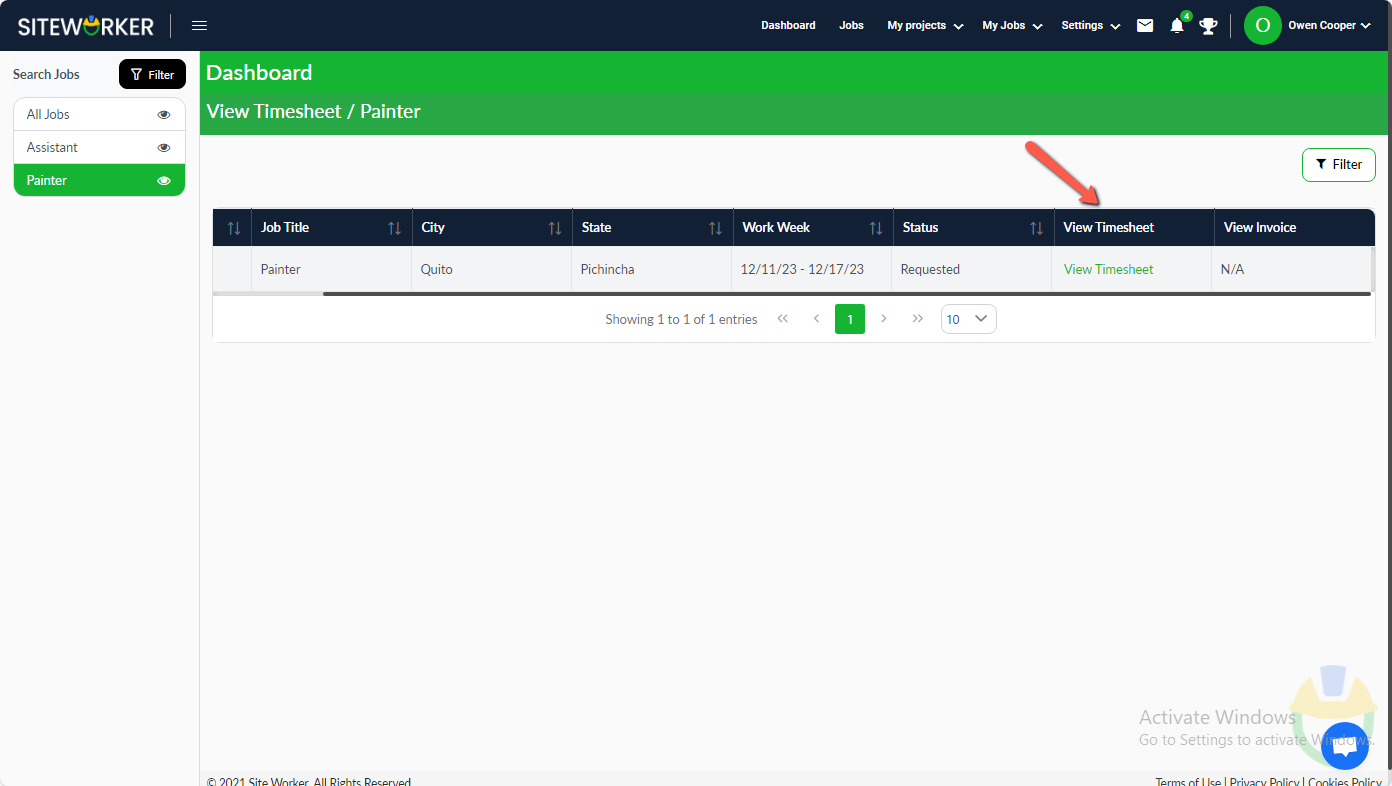
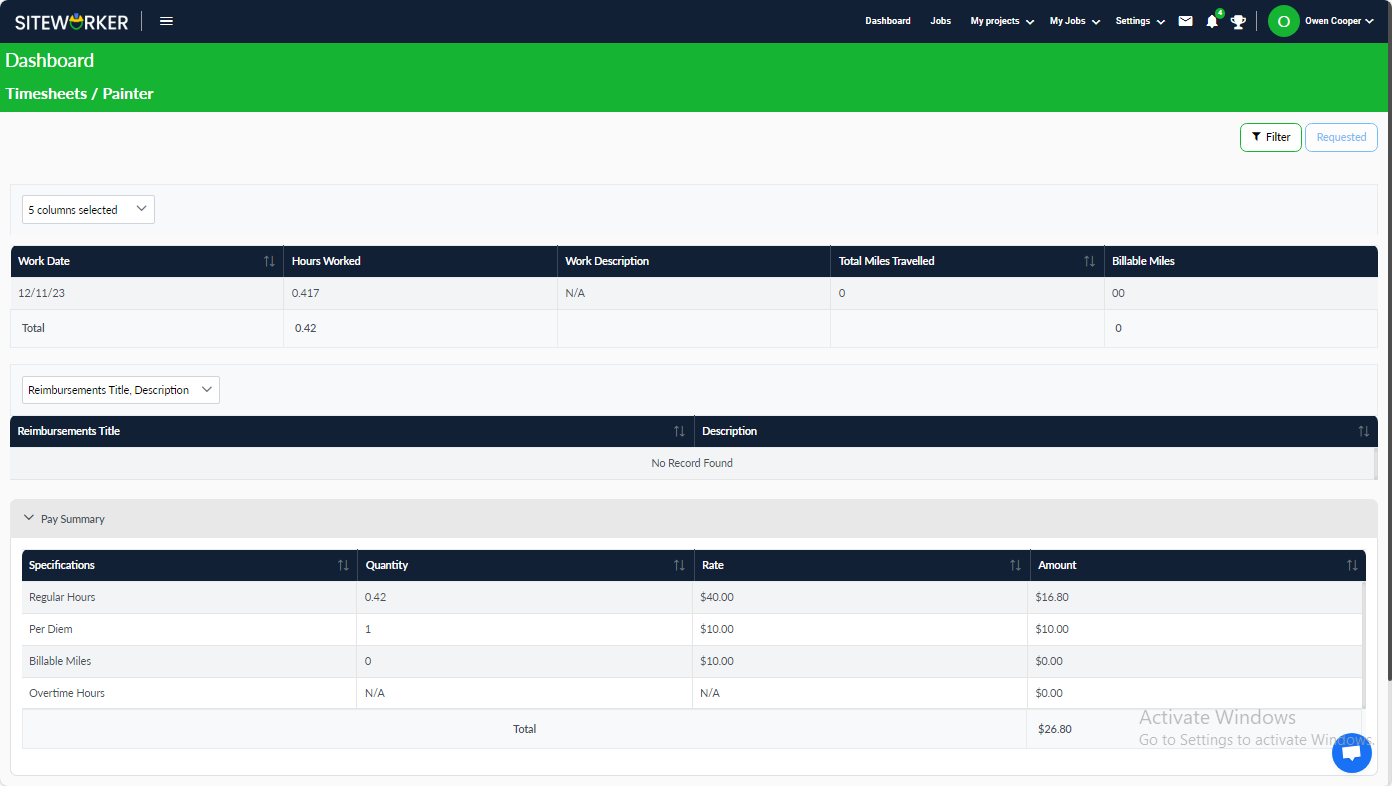
Step 23: Click on View Timesheet to see the timesheet details
Step 24: Once the client accepts the timesheet, the “View Invoice” link will become visible.
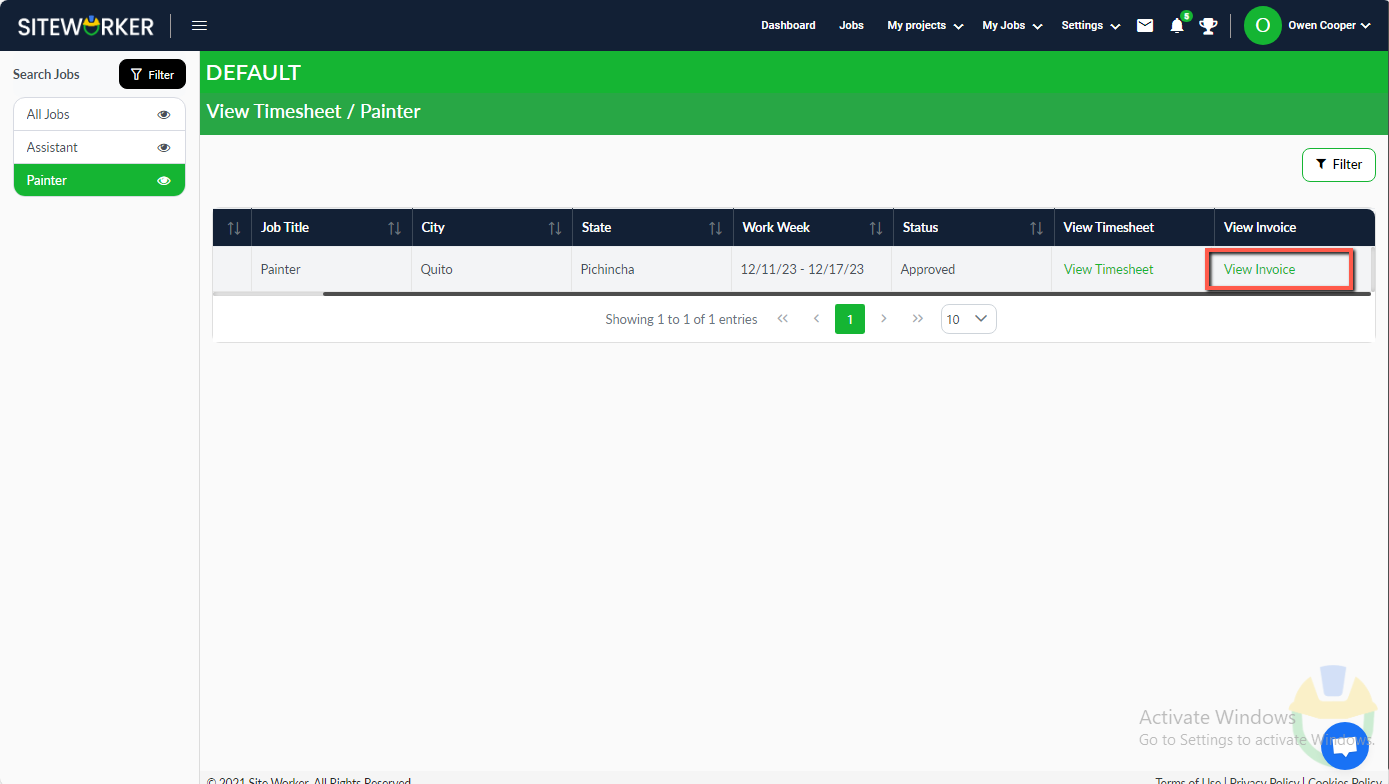
Step 25: Click on “View Invoice,” to download the invoice as a PDF.
Have more questions? Submit a request