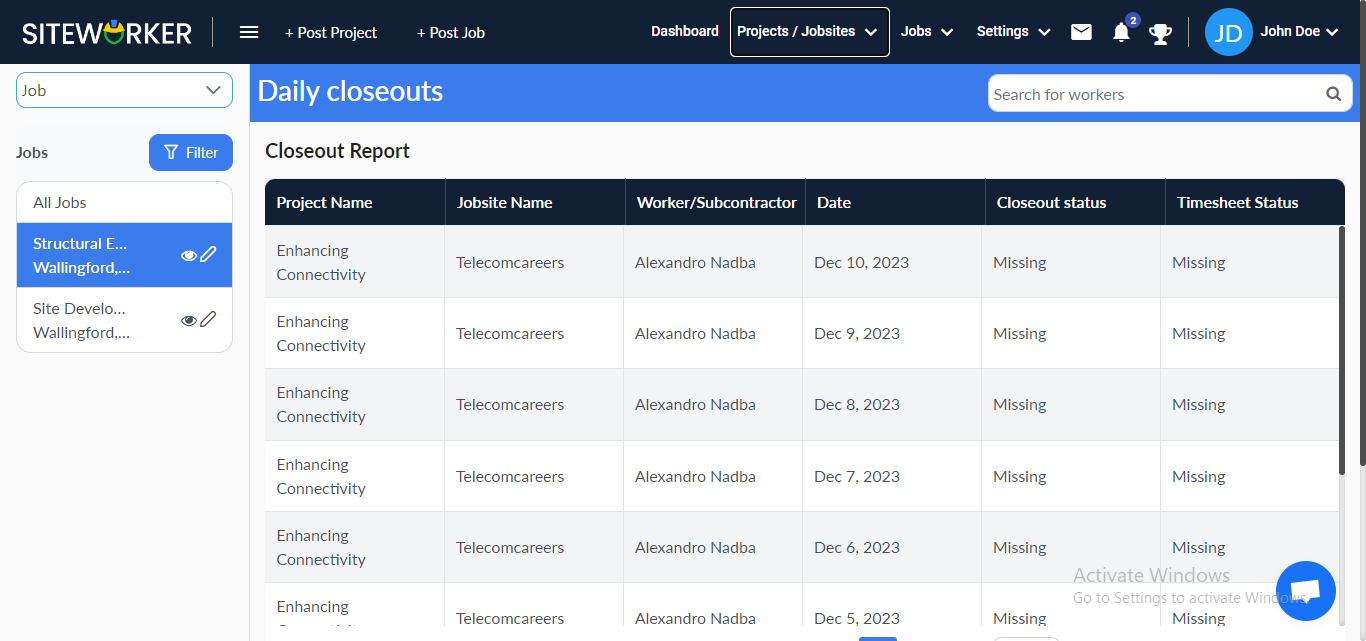
Step 1: Log in to your account and go to the dashboard.
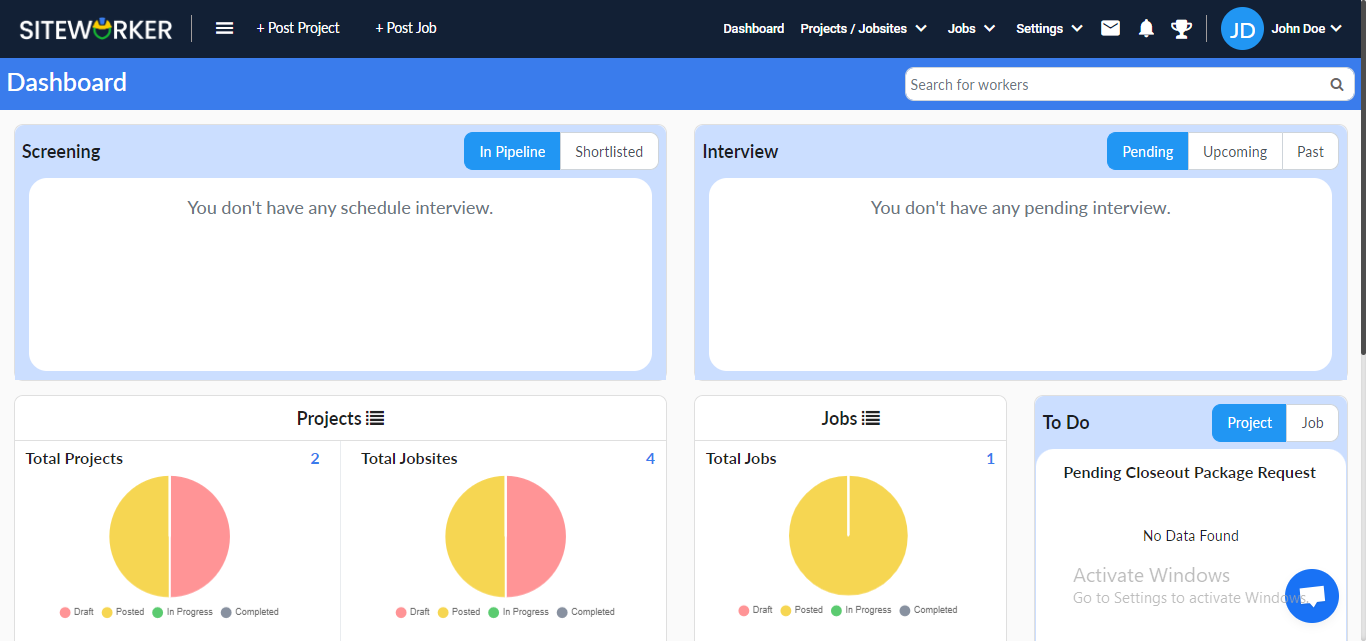
Step 2: In the screening section, you’ll see applied jobs, each with two buttons “Shortlist” and “Reject.”
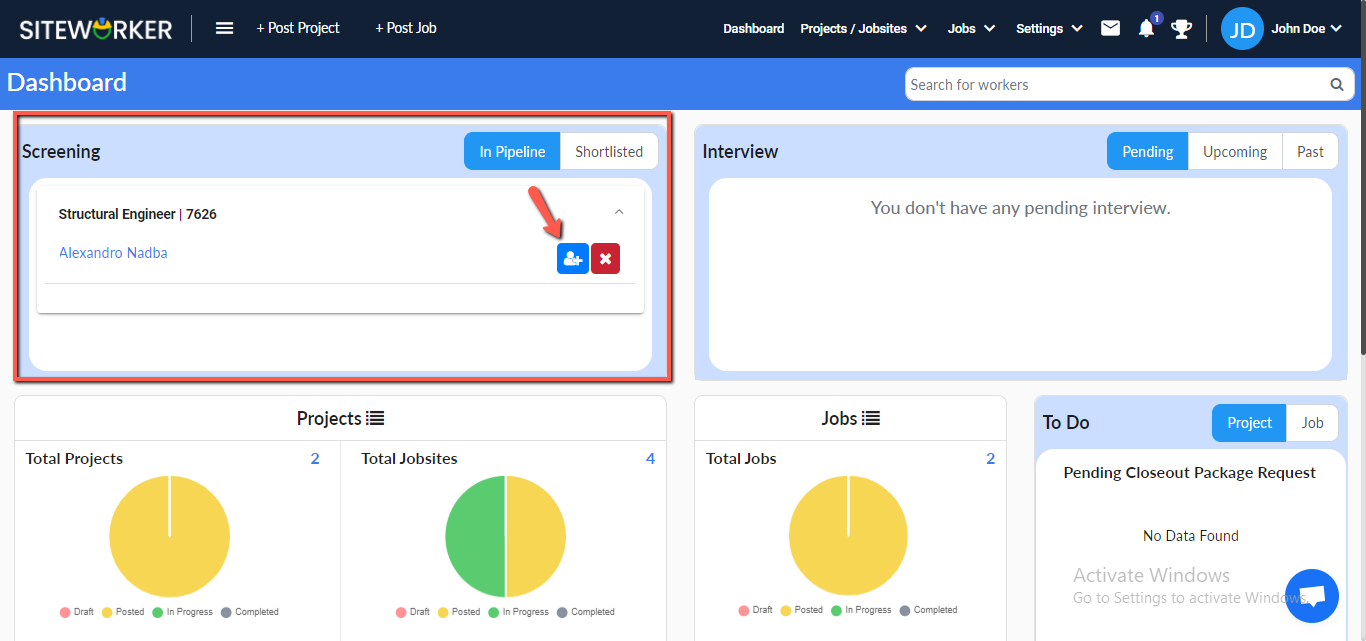
Step 3: Click on the “Shortlist” button, and the following message will appear on your screen:
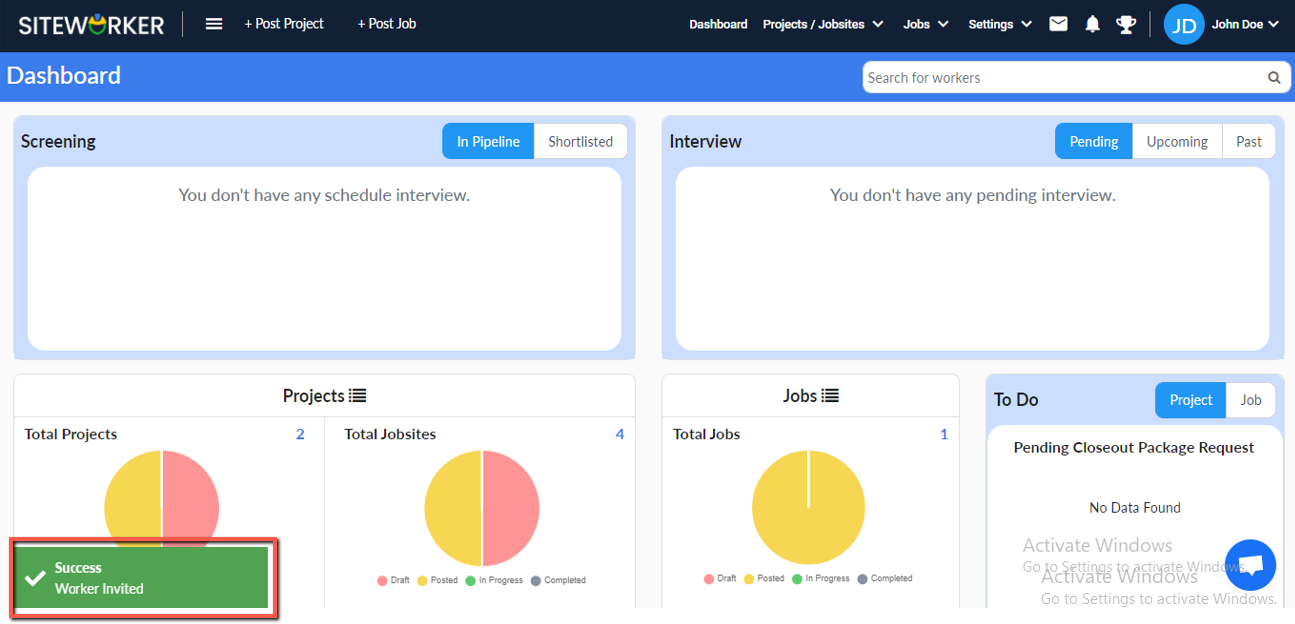
The job details will be listed in the “Shortlisted” tab with two buttons “Schedule” and “Reject.”
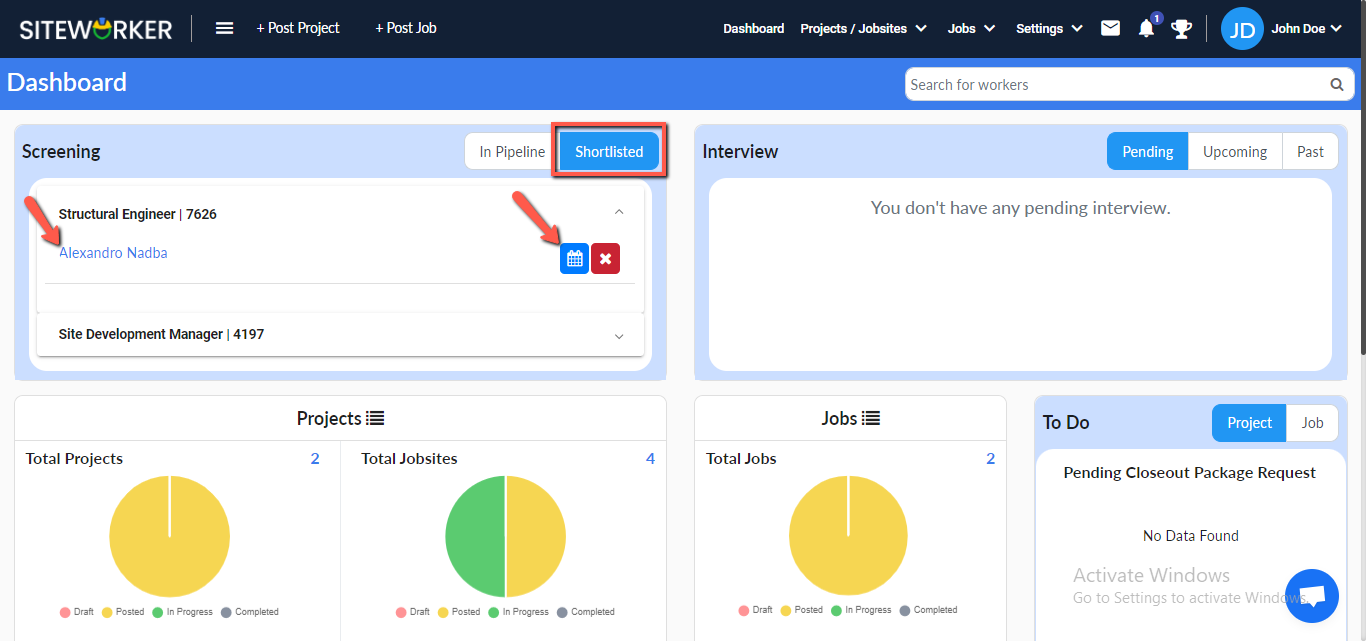
Step 4: Click on the “Schedule” button. A pop-up will appear where you can schedule an interview.
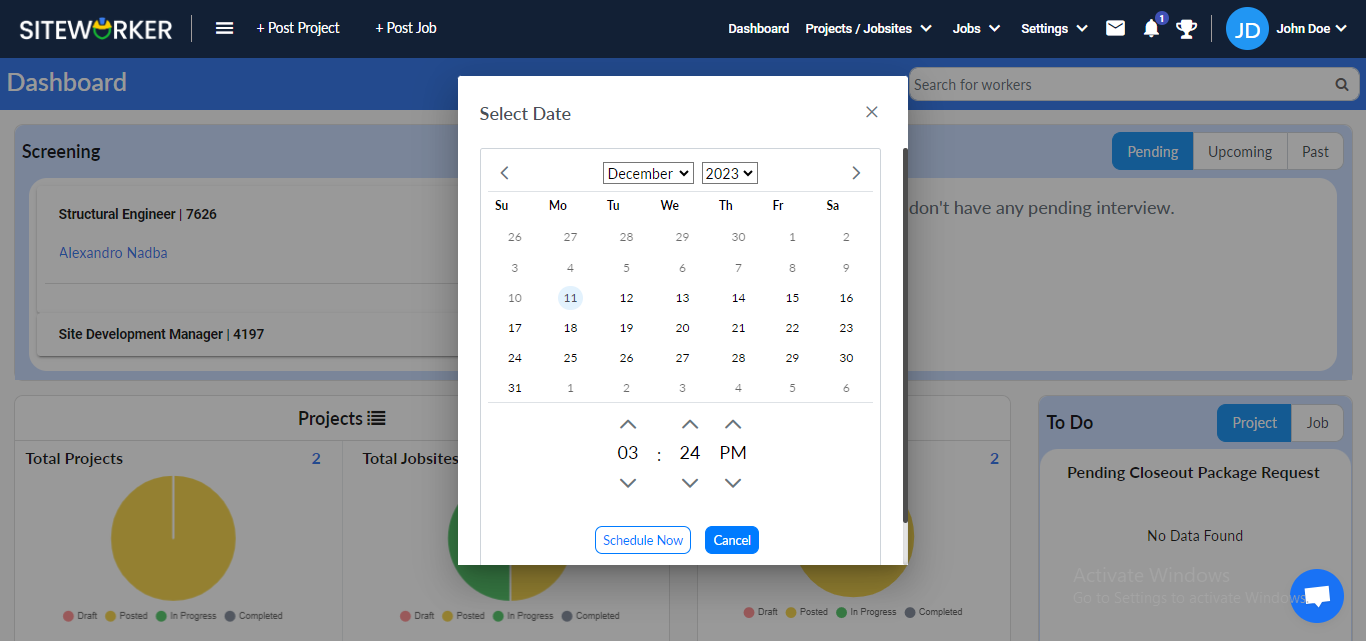
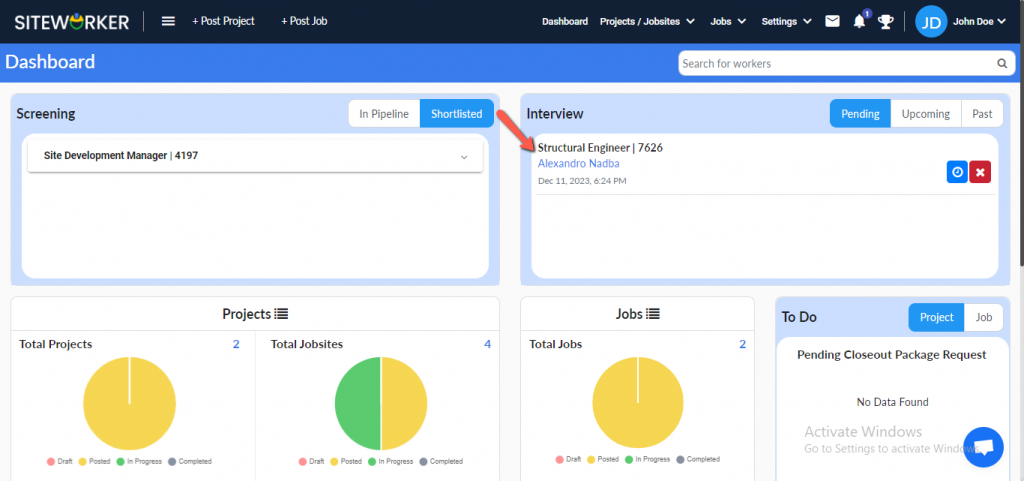
The scheduled job will be moved to the “Interview” section.
The same thing happens to the particular job detail page under the Interview section.
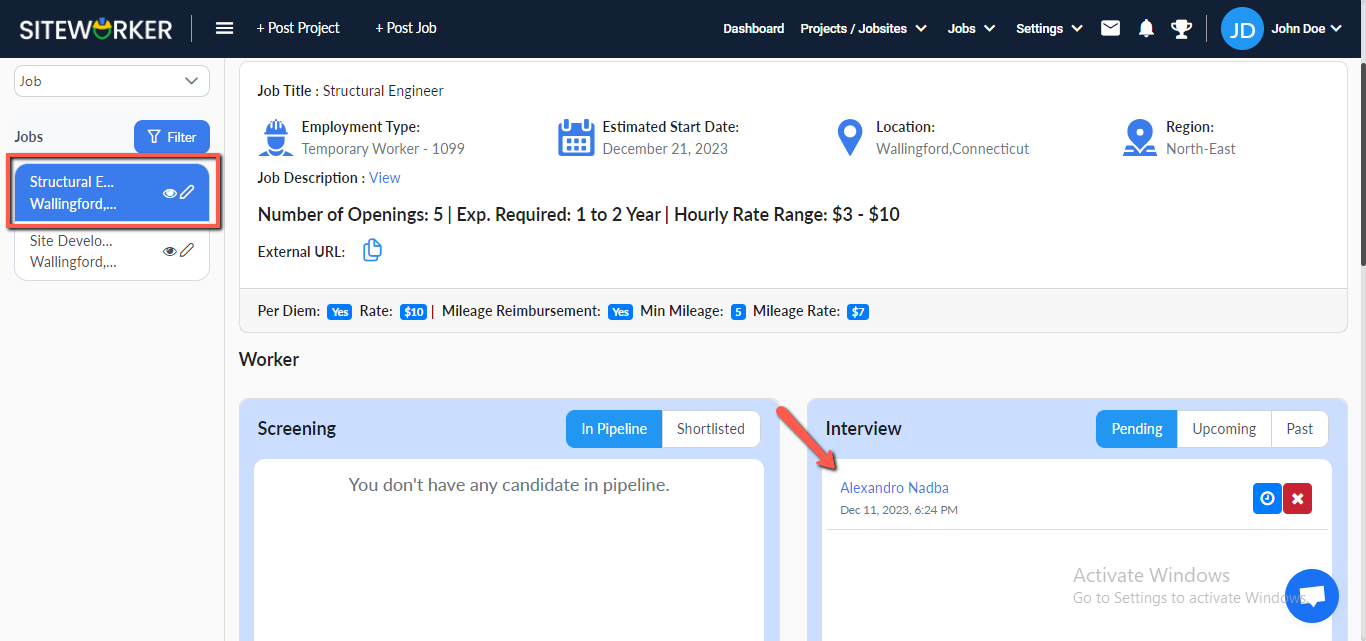
Step 5: Accept, reschedule, and reject the interview.
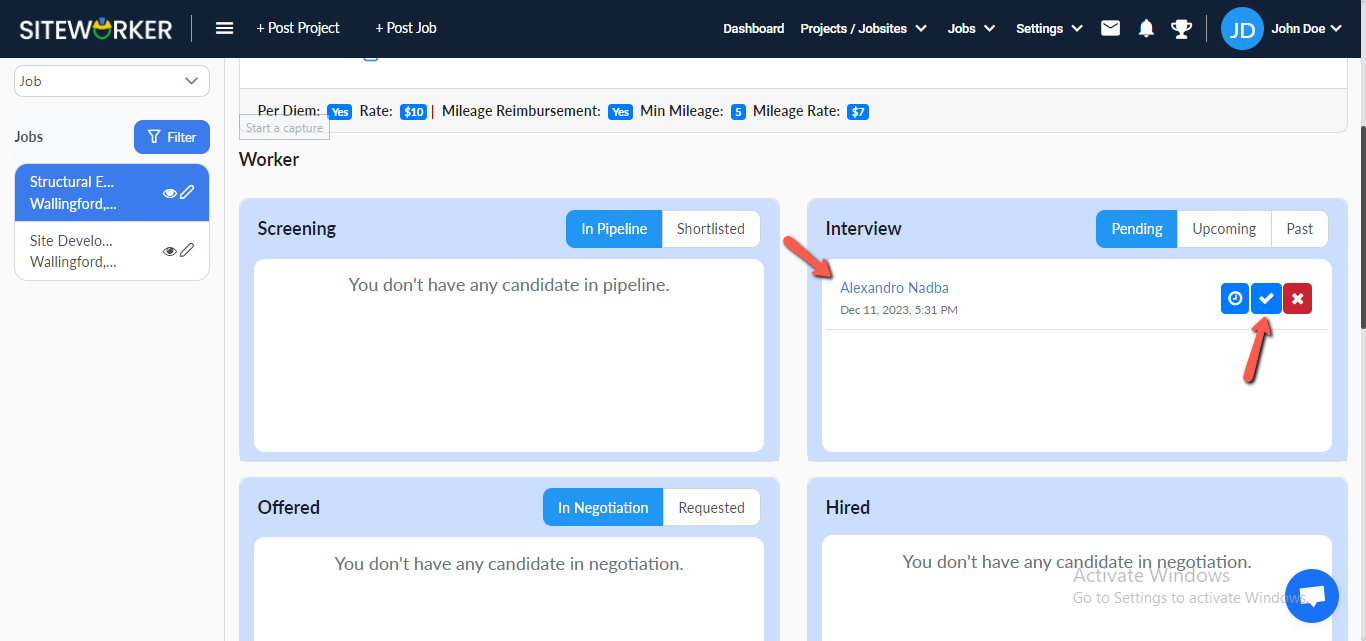
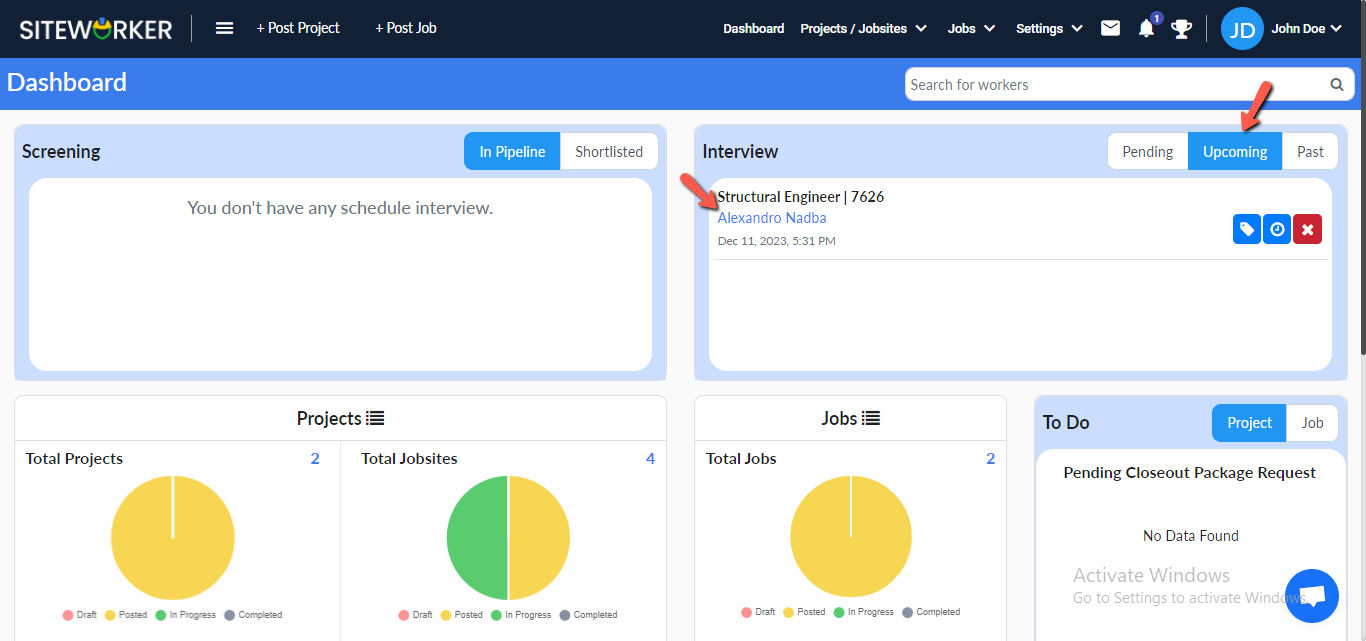
Step 6: Interviews accepted by the worker will be moved to the “Upcoming” section.
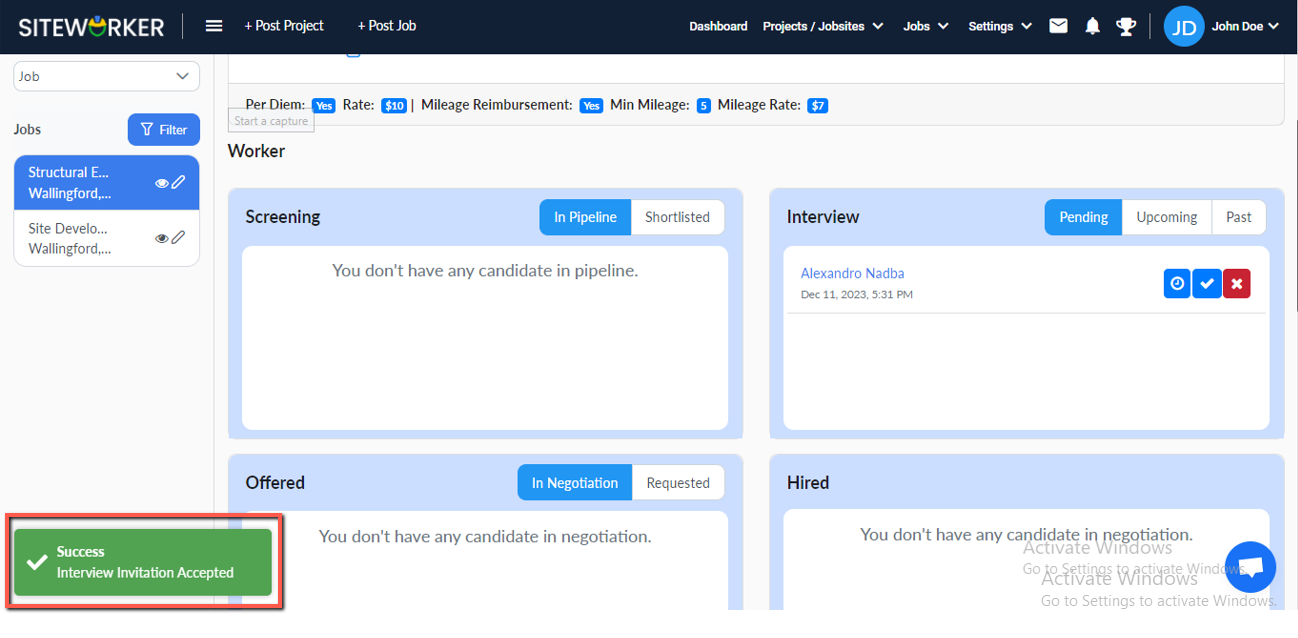
Accept the interview invitation and the following message will appear on your screen.
Step 7: Click on the Offer icon.
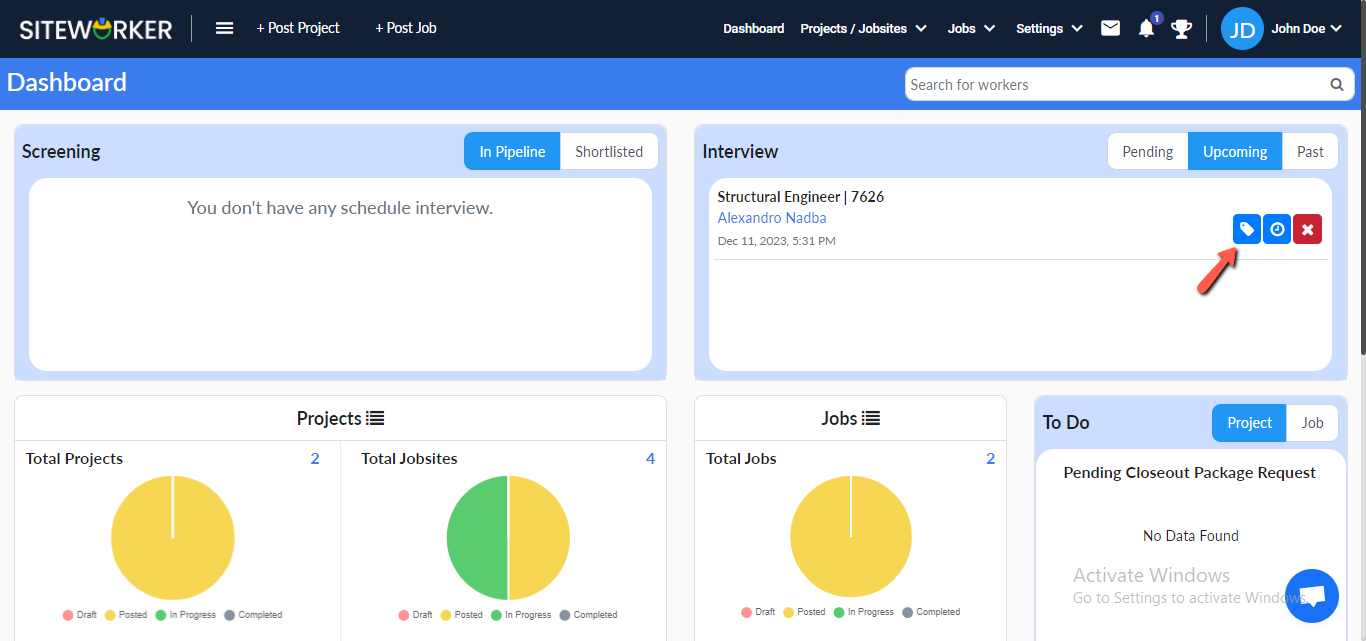
The offer amount pop-up form will appear.
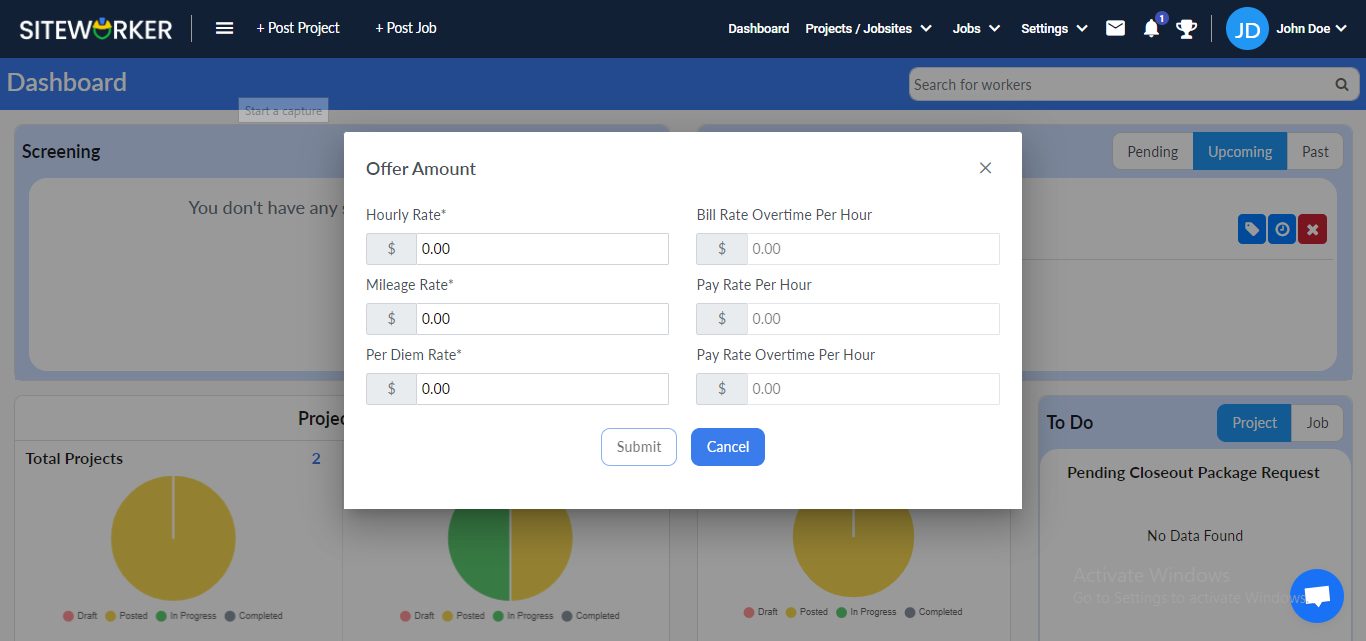
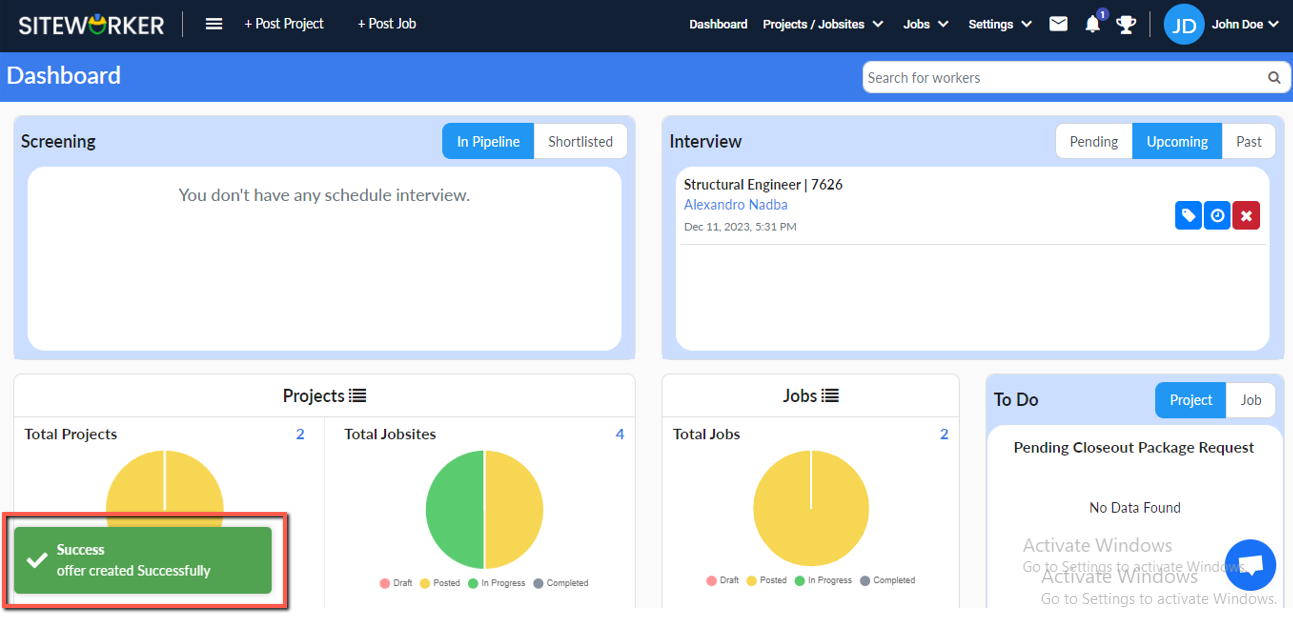
Step 8: Submit the form and you’ll see this message on your screen.
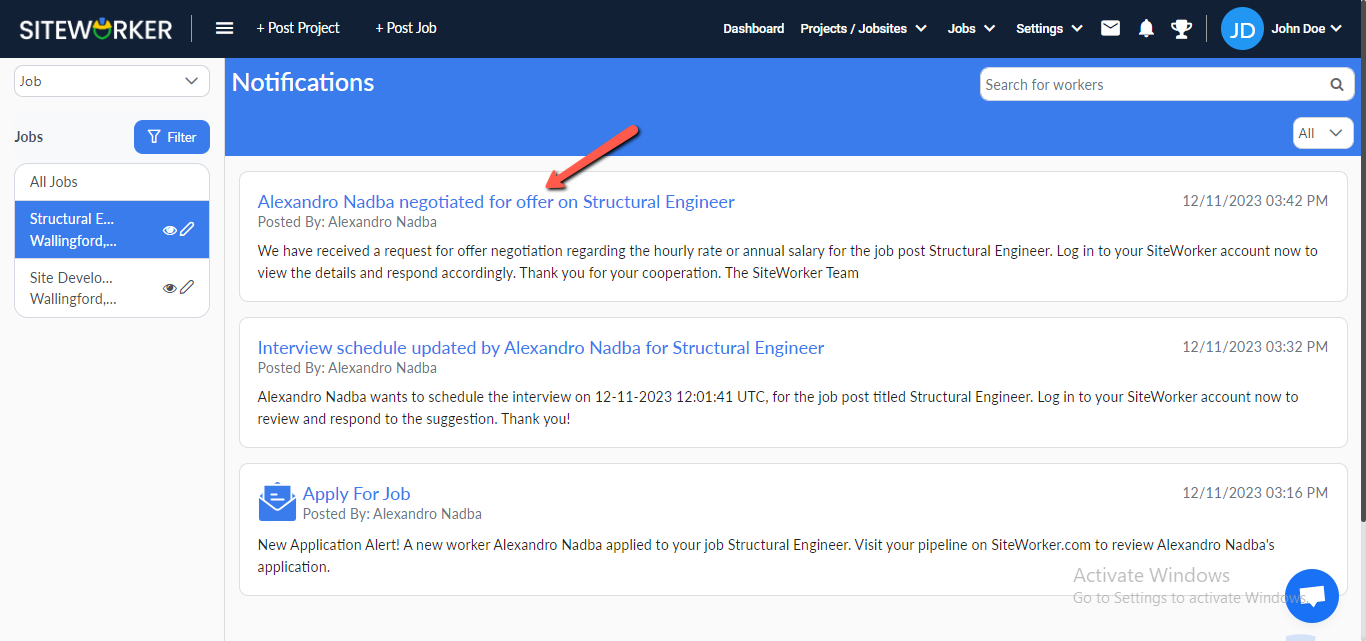
Step 9: You’ll receive a notification when the worker negotiates an offer.
Step 10: You’ll see worker details in the Offered section under the “In Negotiation” tab after the worker counters the offer.
Accept, offer and reject the offer by clicking on the button.
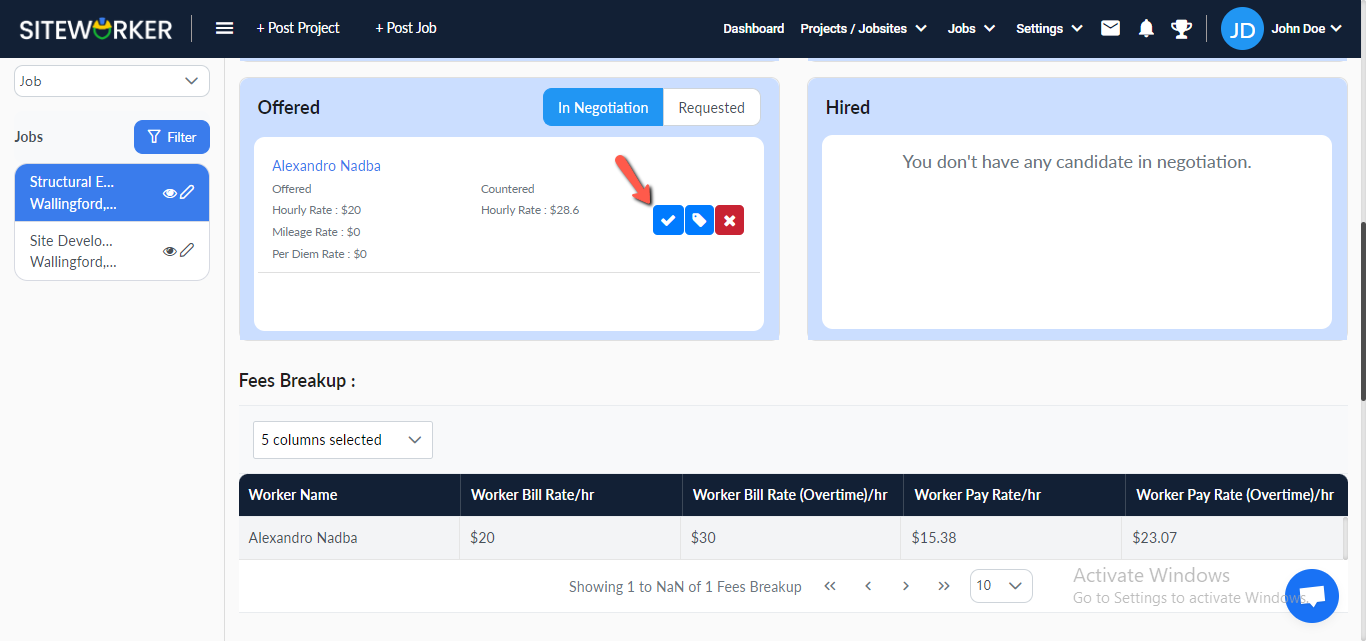
Accept the offer and the following message will appear on your screen
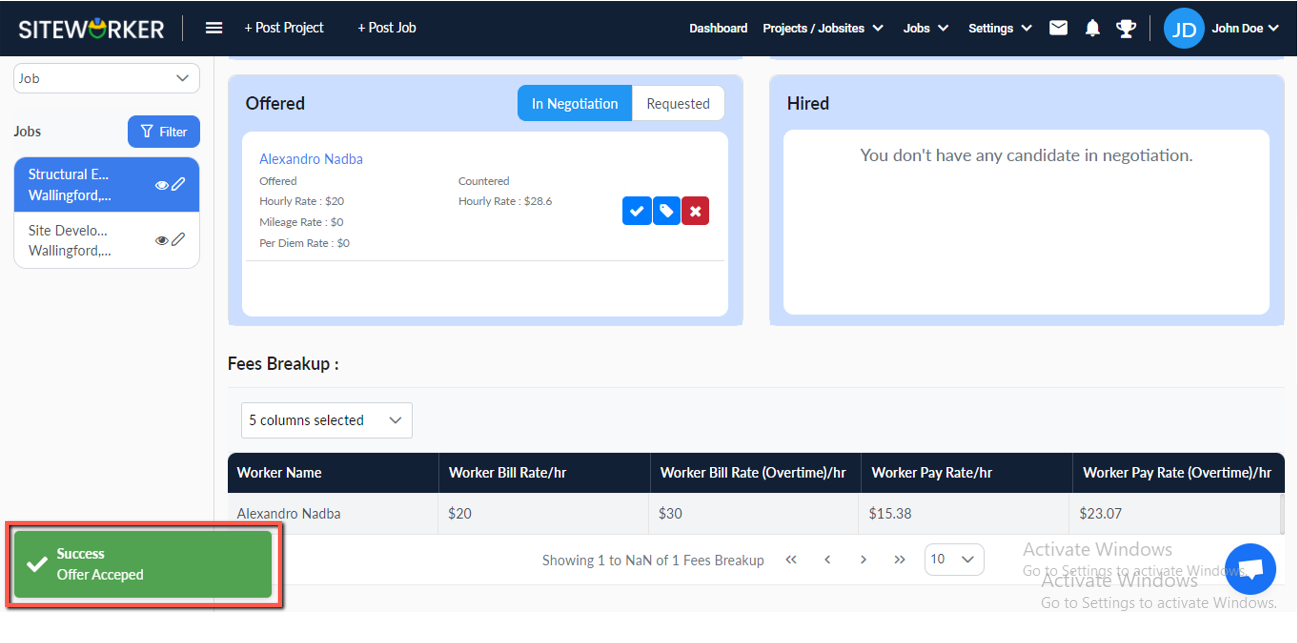
Step 11: Now, Hire and Reject buttons will become visible.
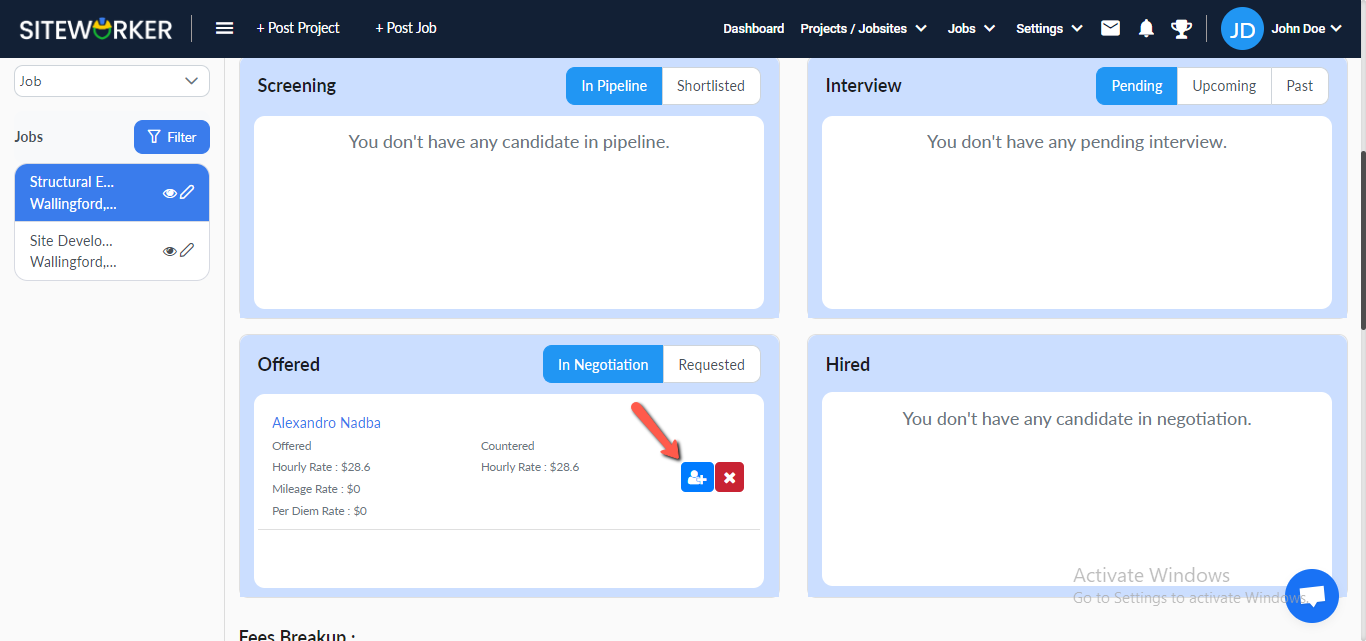
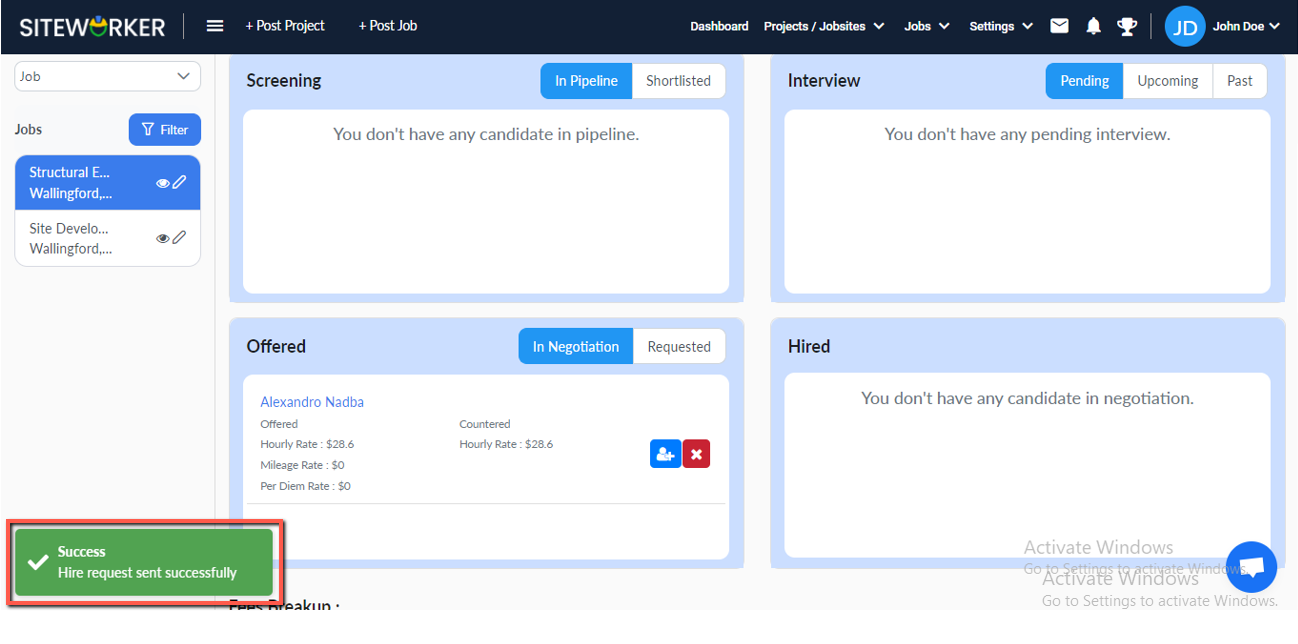
Click the “Hire” button and you’ll see the following message:
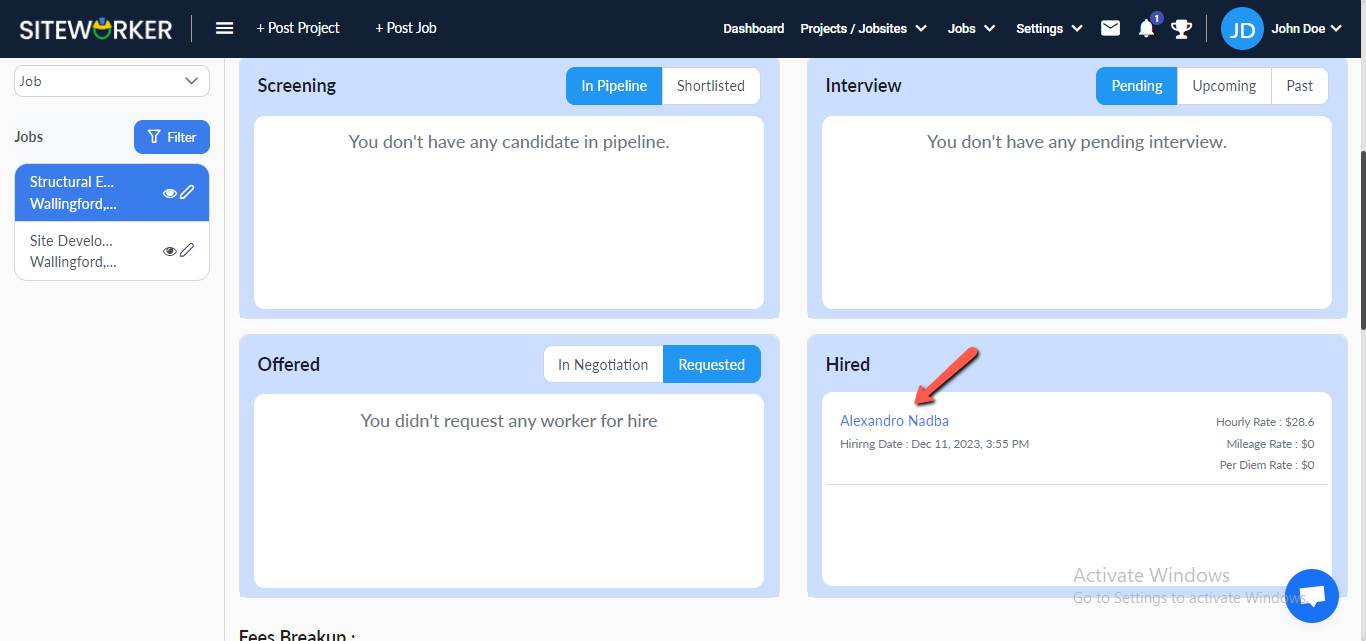
Step 12: After successfully Hired, the worker detail moves to the Hired section.
Step 13: Go to the job details > the closeout report section to see daily closeout photos.
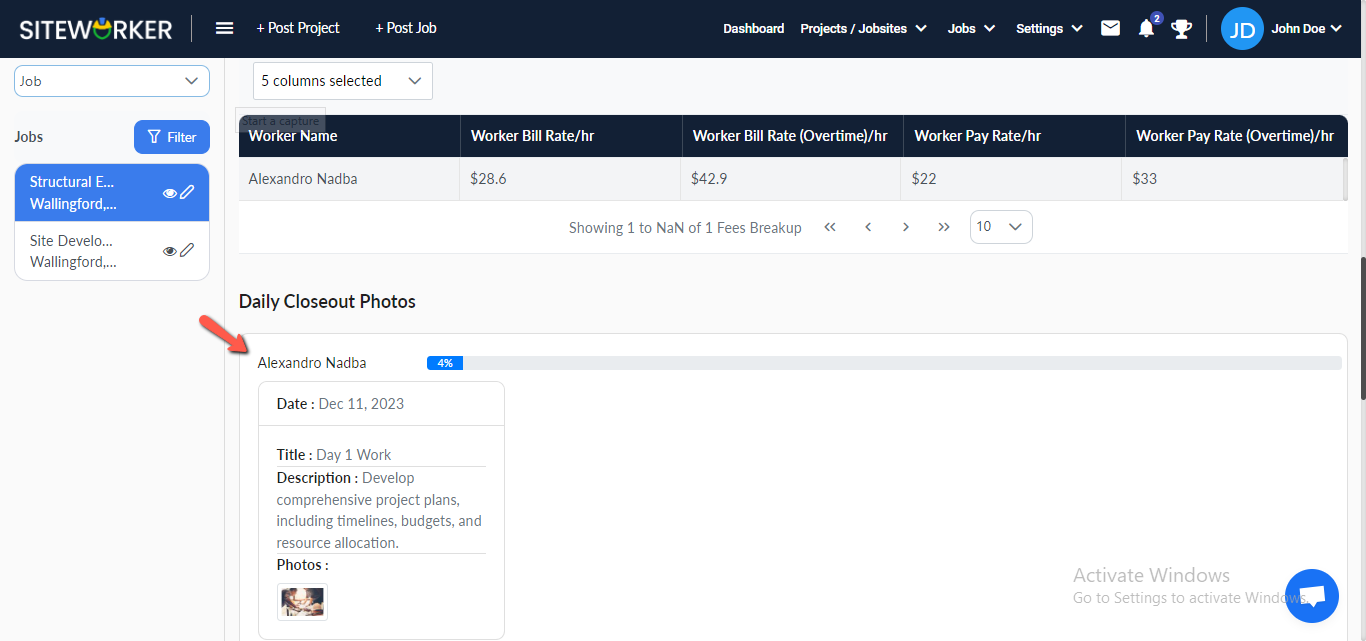
Step 14: Jobs menu > Daily Closeout to see all daily closeout photos on the Daily Closeout page.
