Step 1: Log in to your account.
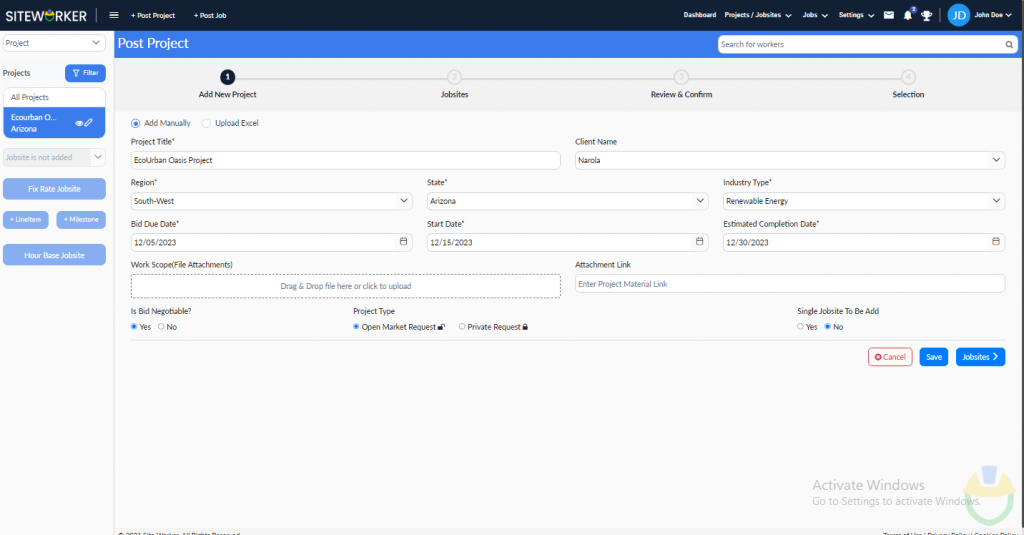
Step 2: Click on “+ Post Project”.
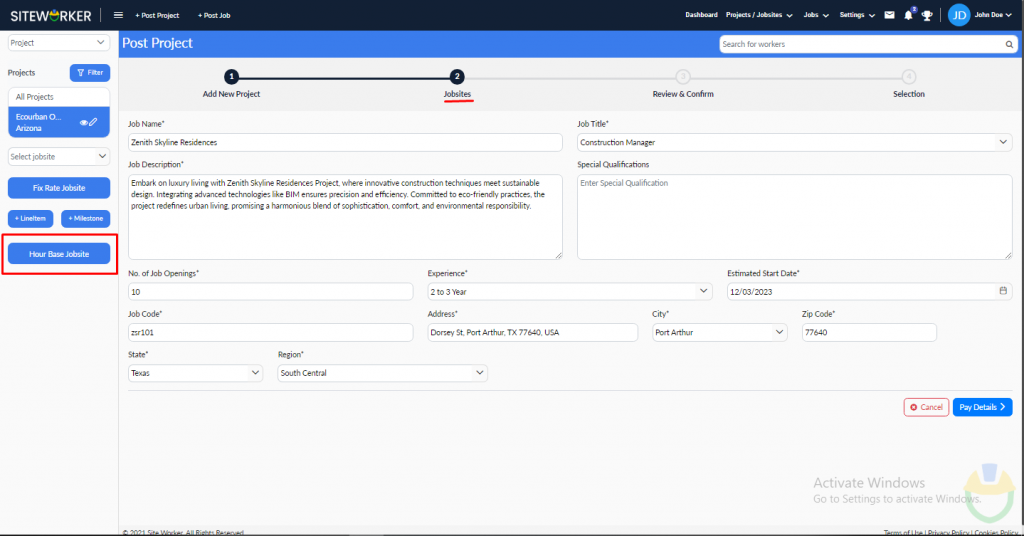
Step 3: Enter project details and click the “Jobsites” button.
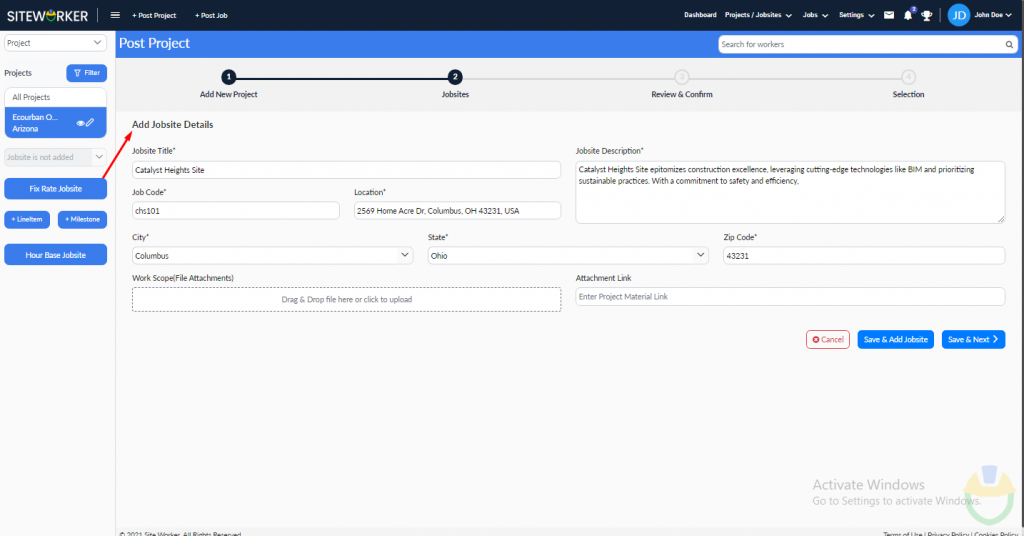
Step 4: Enter the Jobsite or Project Location
You have two options:
- Choose the jobsite from the drop-down list in the left pane.
- Manually add a new jobsite.
You can create both Fixed Rate and Hourly Rate jobsites to match your specific project requirements.
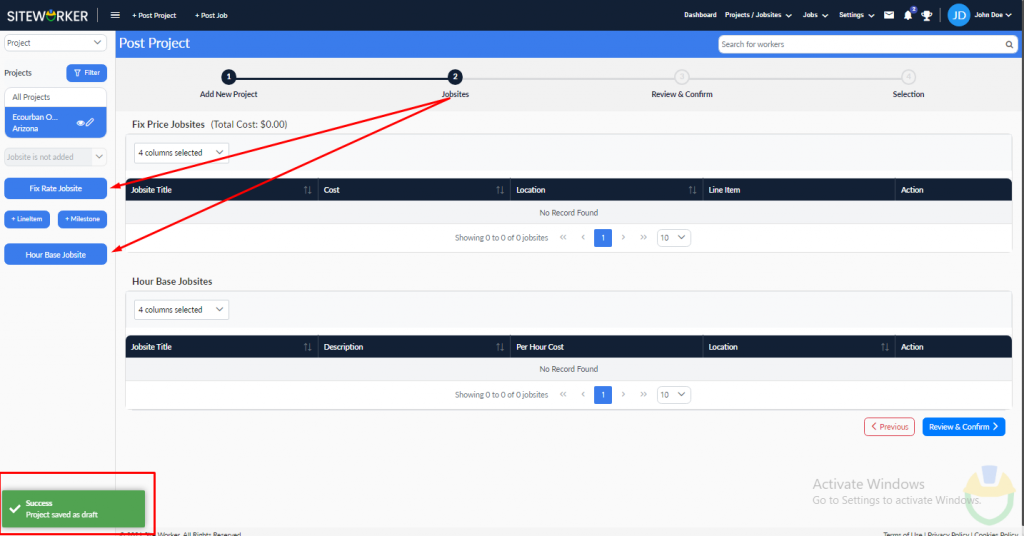
If you click on “Fixed rate,” the following form will appear:
If you click on “Hours base rate,” the following form will appear:
Step 5: Selecting “Hourly Rate” Option.
Click on the “Pay Details” button, and the following form will appear. Fill in an Hourly Rate range and other necessary jobsite details.
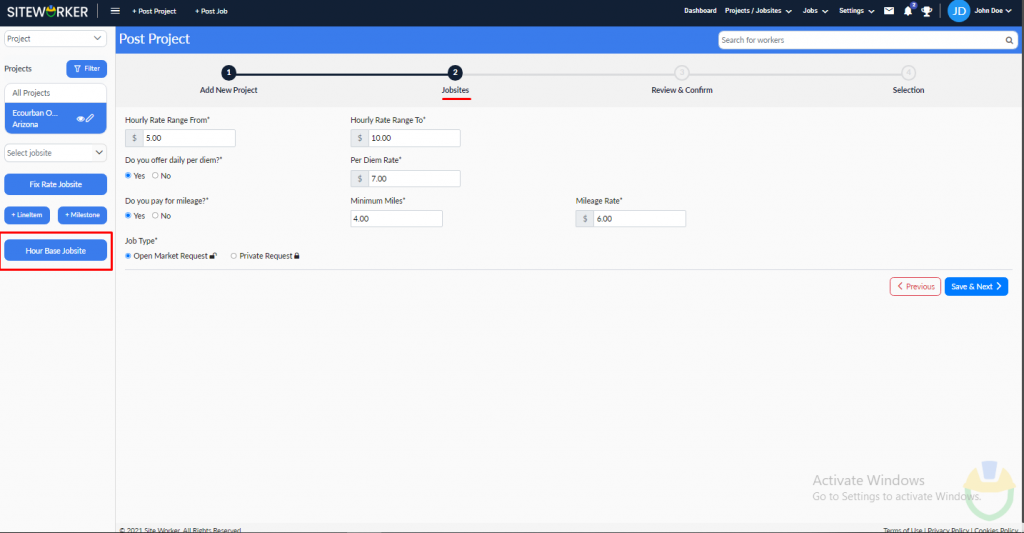
Click on the “Save & Next button. You’ll see this message in the bottom left of your screen:

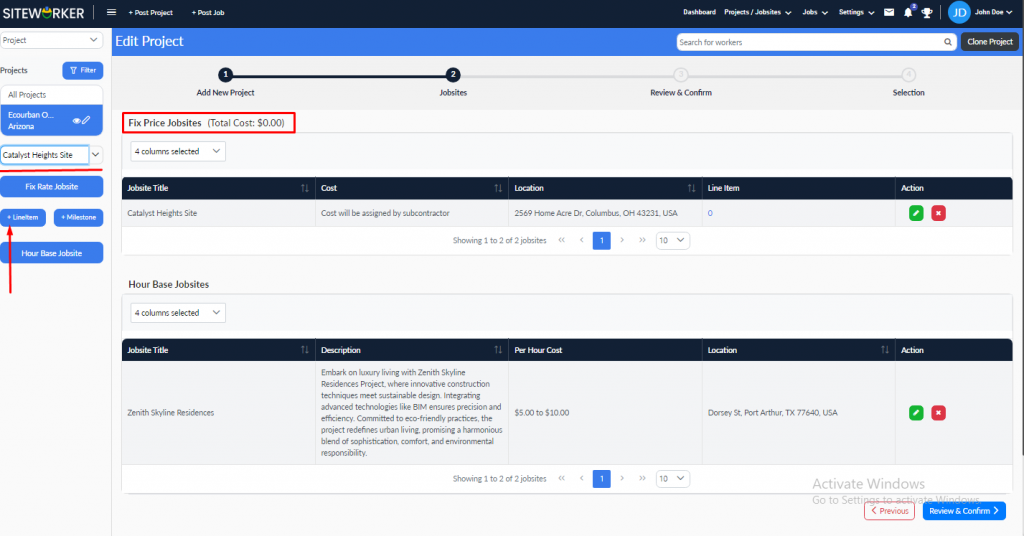
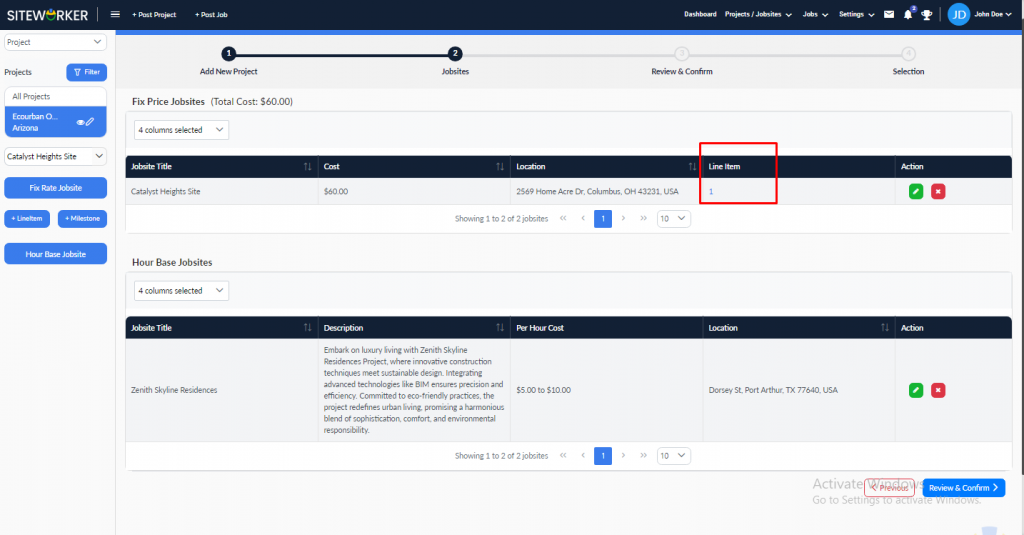
Step 6: Adding a LineItem for the Jobsite
Select the relevant jobsite from the drop-down field on the left-hand side and proceed to add a LineItem.
Note: LineItem is applicable only for fixed-rate jobsites.
Step 7: Create LineItem for your project.
To create a LineItem for your project, follow these steps:
- Choose from predefined bid templates or create your own manually. Click on “Blank Template” to create one from scratch.
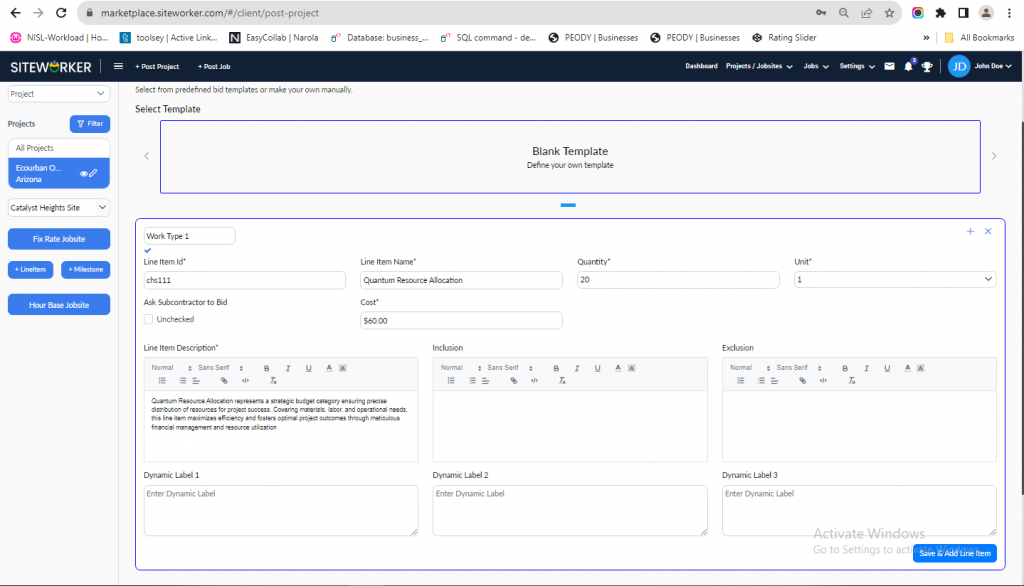
- Customize the “Work Type” field with a relevant title that best describes the job.
- Finally, click the “Save & Next” button.
You’ll see that the line item has been added to your project.
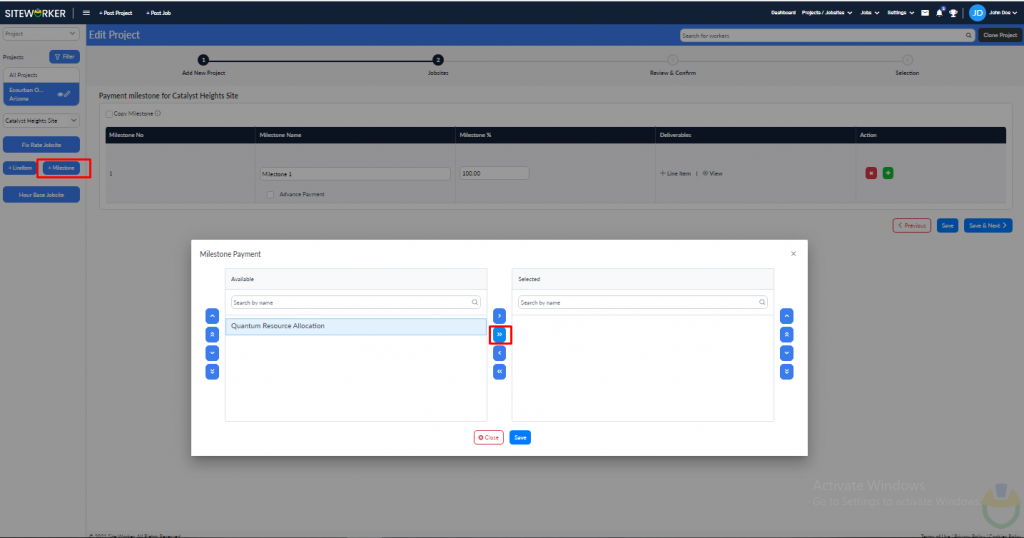
Step 8: Add a Milestone.
Click on the + Milestone button in the left pane.

From the list on the left, select the Line Item you want to include in your project.
Click the “>” sign to move the selected Line Item to the “Selected” list on the right.
Click the “Save” button and then click the “Save & Next” button to proceed further.
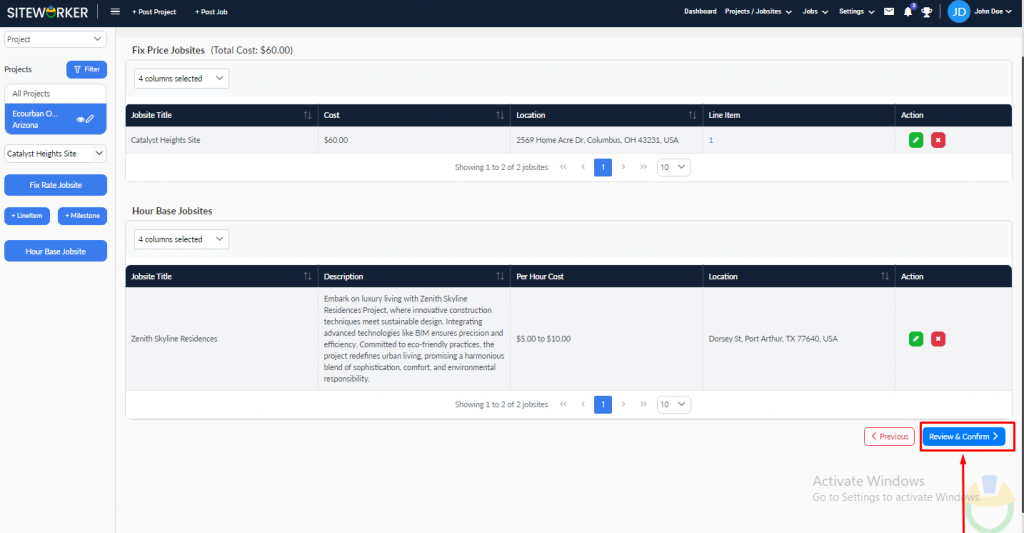
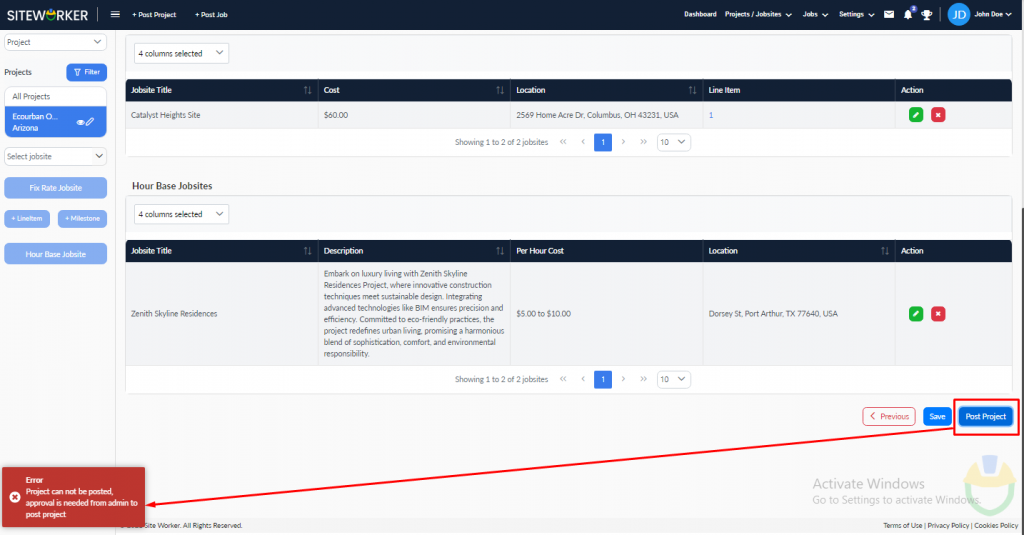
Step 9: Project Review and Submission
Click on the Review & Confirm button.
Review your project and jobsite details carefully and make any necessary changes. Once confirmed, click on the “Post Project” button.
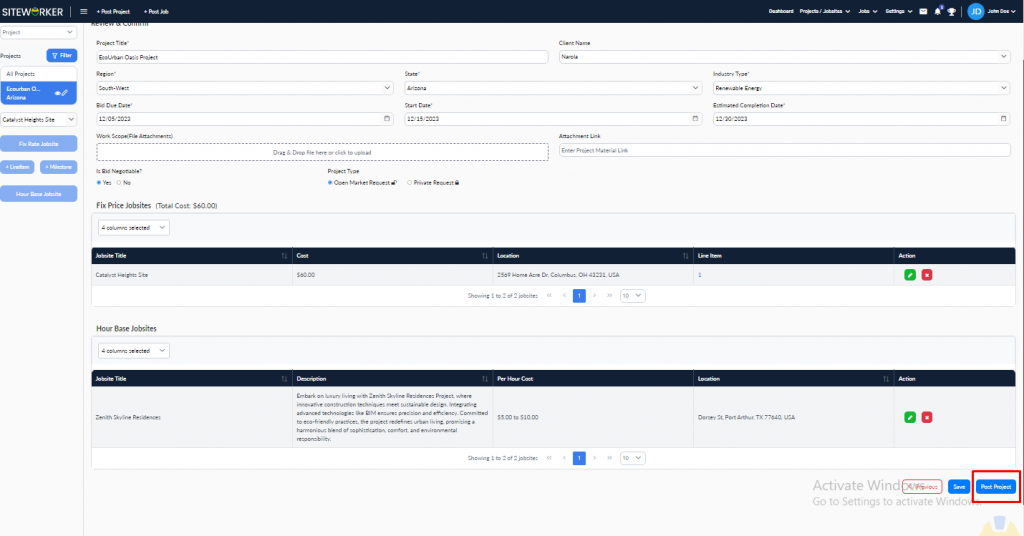
If the project has not been approved, an error message will be displayed.
If the project is approved, you’ll see the following message on your screen:
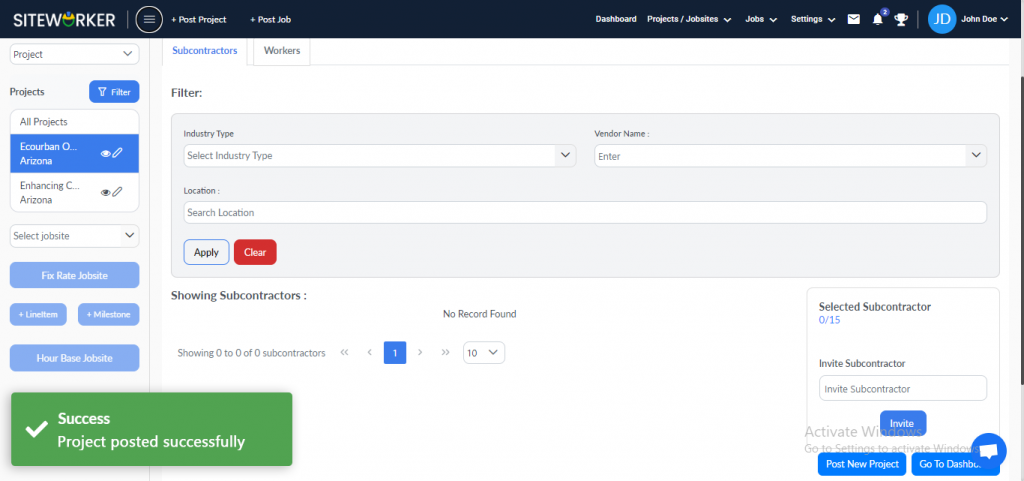
Step 10: Select and Invite Subcontractor.
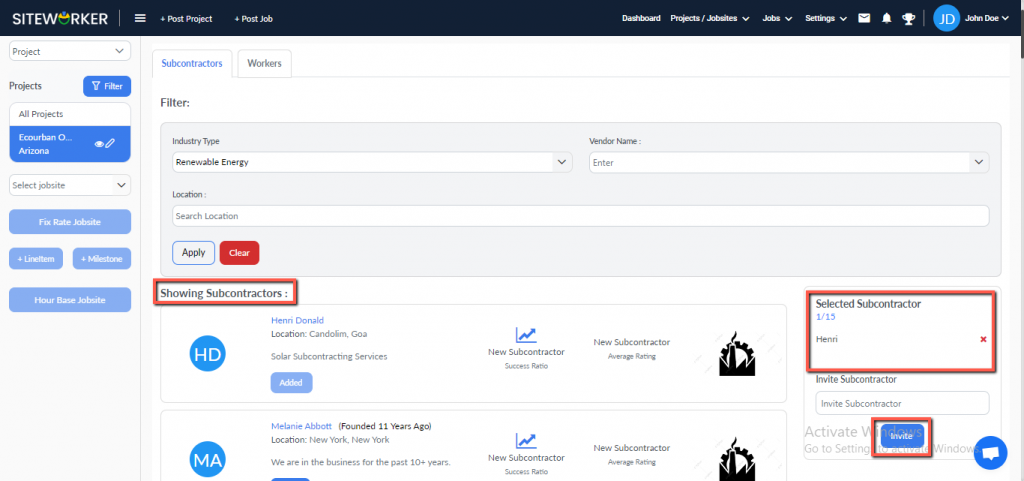
- View the list of subcontractors and filter based on your preferences.
- Click “+Add” to select subcontractors.
- See the selected subcontractors on the right side of your screen.
- Click “Invite” to invite them to bid on your project.
You will see this message on your screen:
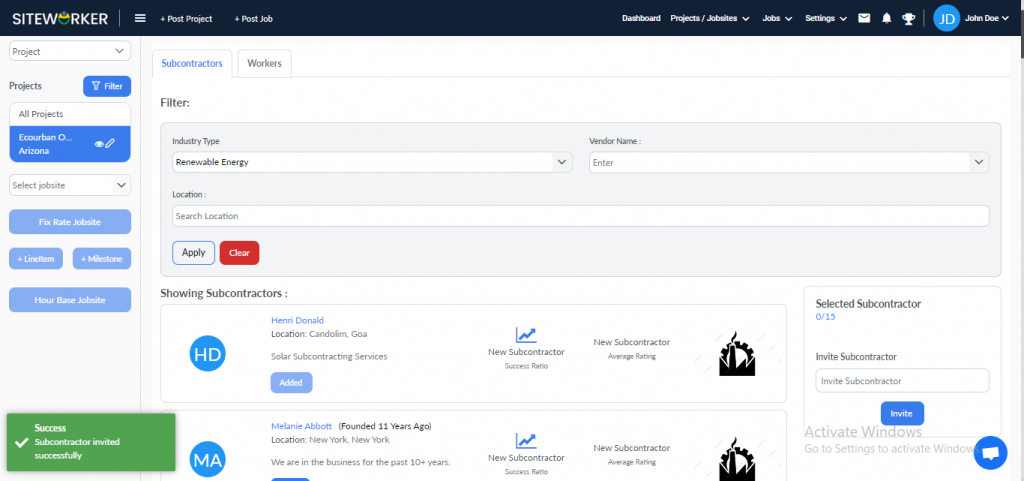
Now, wait for bids from selected subcontractors!
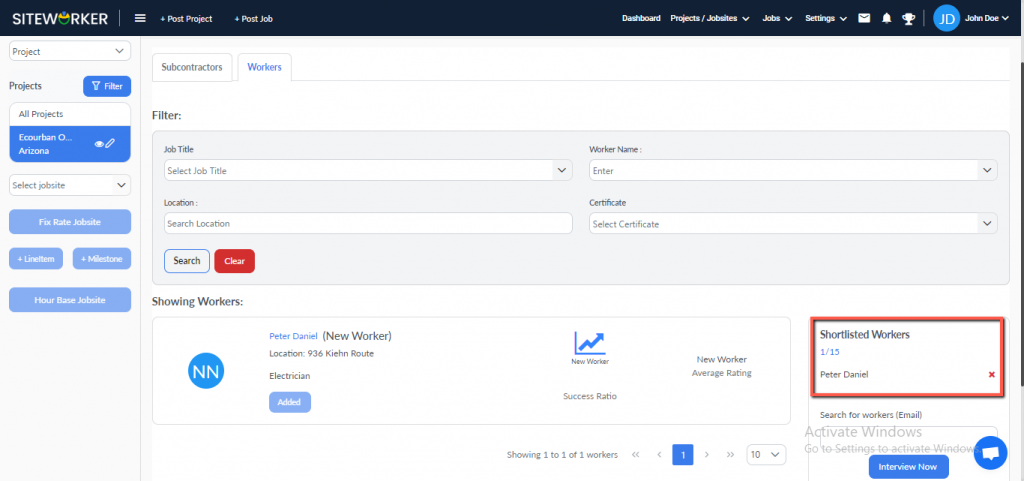
Step 11: Adding Workers.
- Go to the “Worker” tab. You can add workers on the screen below.
- Shortlisted workers will be listed at the bottom right of your screen.
Step 12: Accessing Project Count.
Go to the dashboard > Project section.
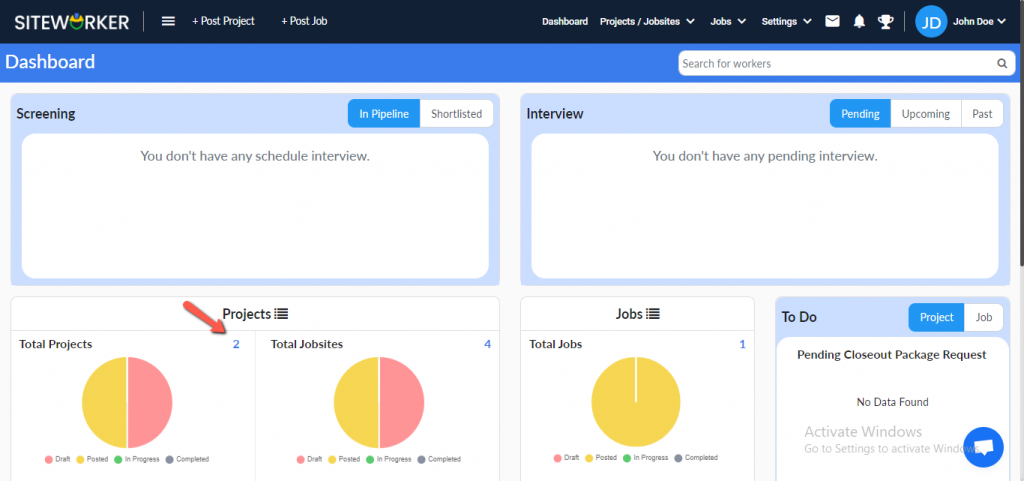
Click on Total Projects to list all the projects:

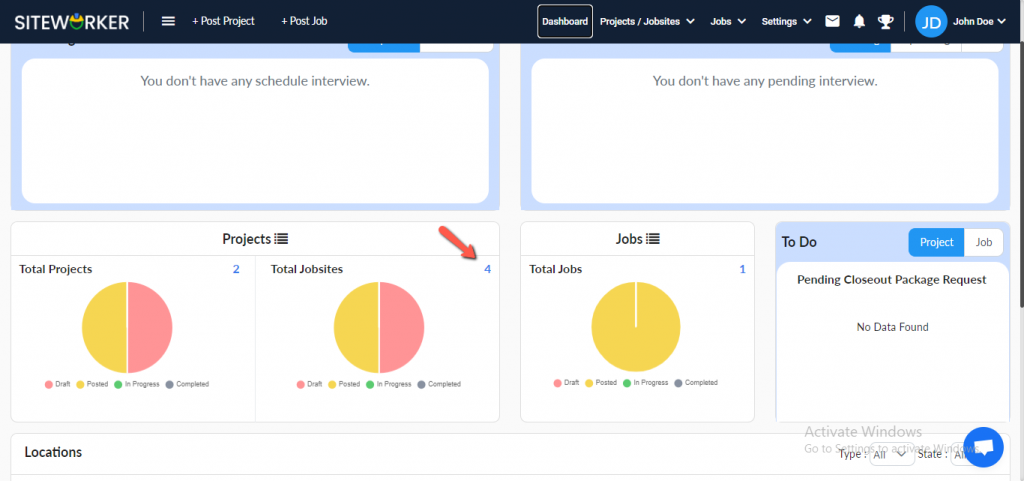
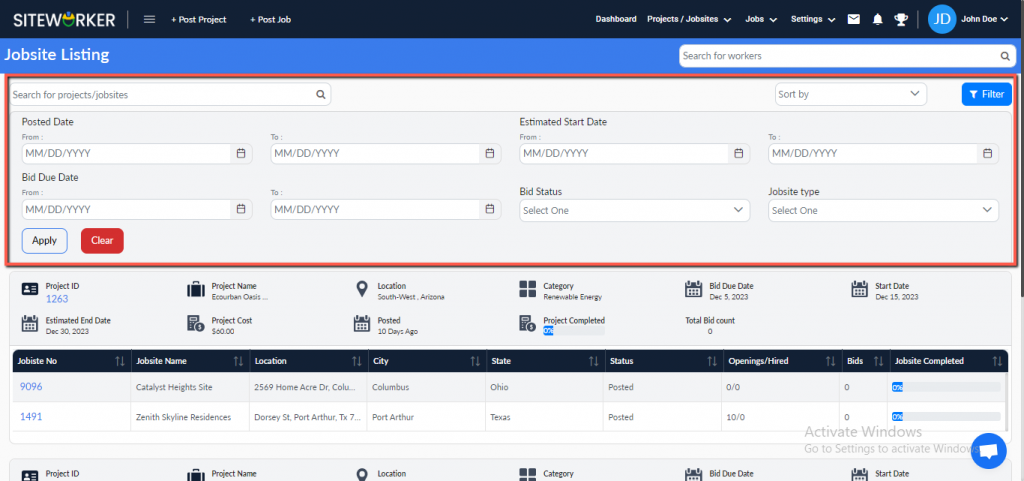
Click on Total Jobsites to redirect to the Jobsite Listing page.
You can filter the records using the filter button.
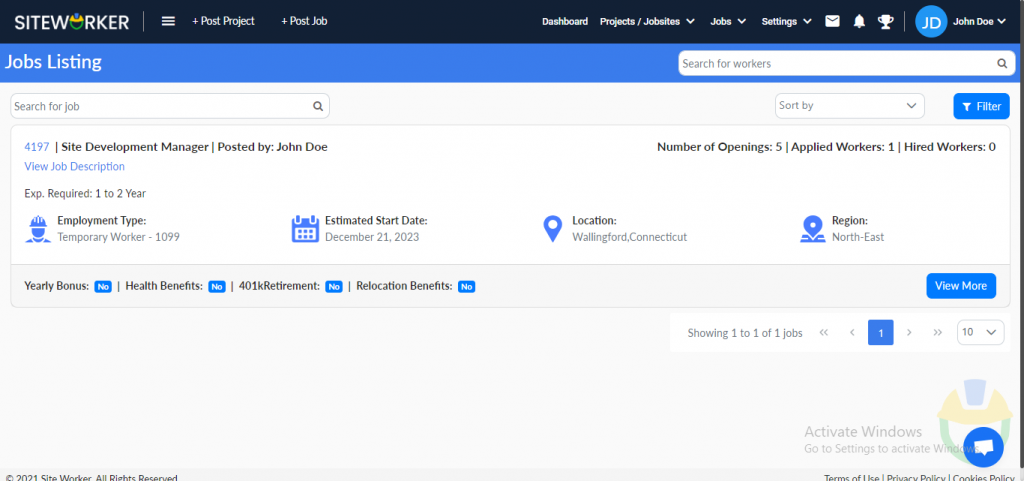
Step 13: Click on Total Jobs.
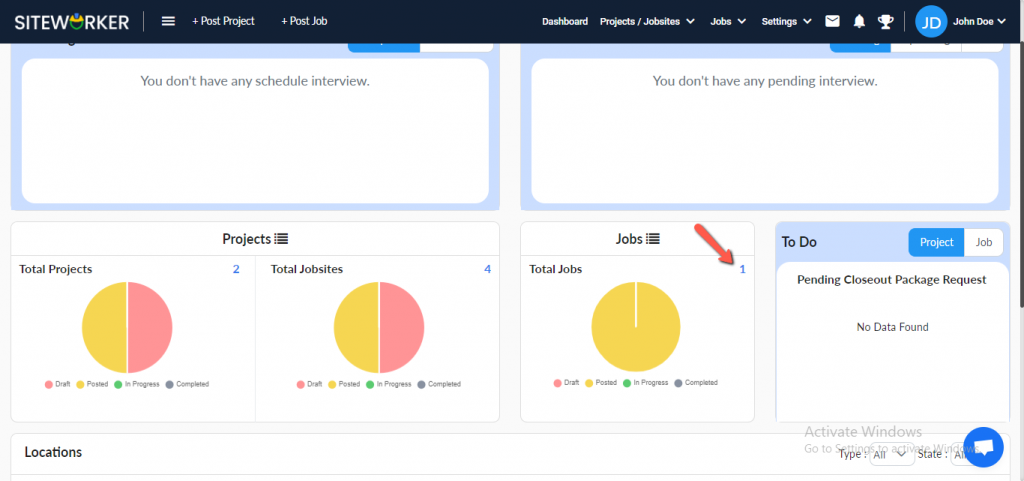
You will be redirected to the Jobs Listing page.