Adding a line item template into project management processes saves you time while providing clarity. With this, you can provide a structured format for detailing projects, costs, or changes. This minimizes the risk of errors. Additionally, a standardized line item template helps subcontractors to easily track and understand project requirements.
Here is a step-by-step guide on adding Line Item Template:
Step 1: Login to your account using your registered email and password

Step 2: Go to the dashboard and take the cursor to “Projects/Jobsites.” From the drop-down list, select “Add Line Item Template.”

Step 3: Click on “+Add New” at the top right corner.

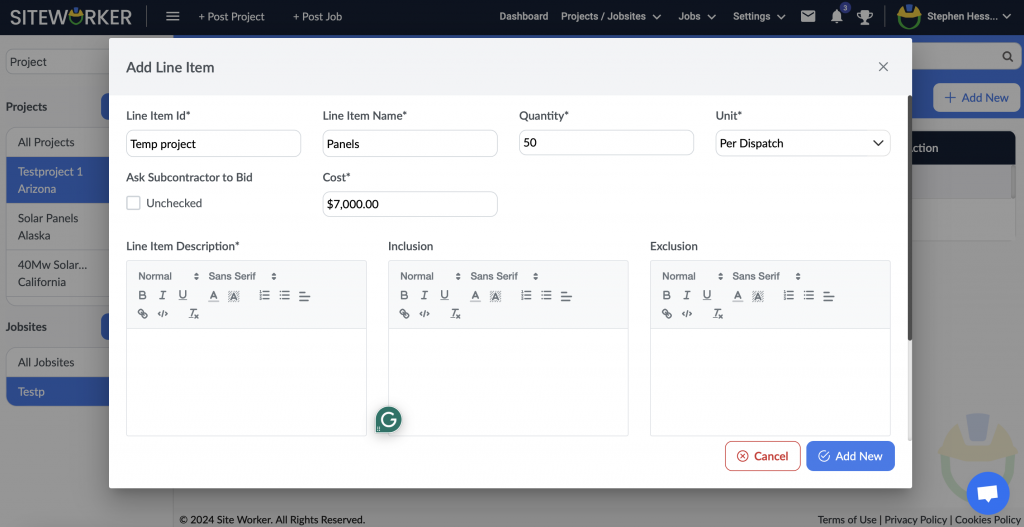
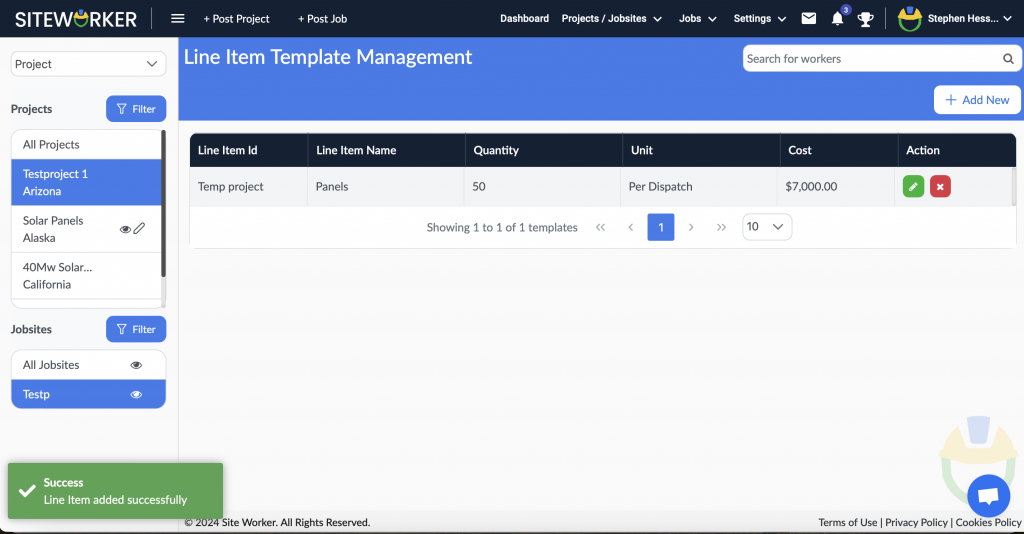
Step 4: Add details for the Line Item template. Click “Add New” at the bottom right.

You will get a success message.

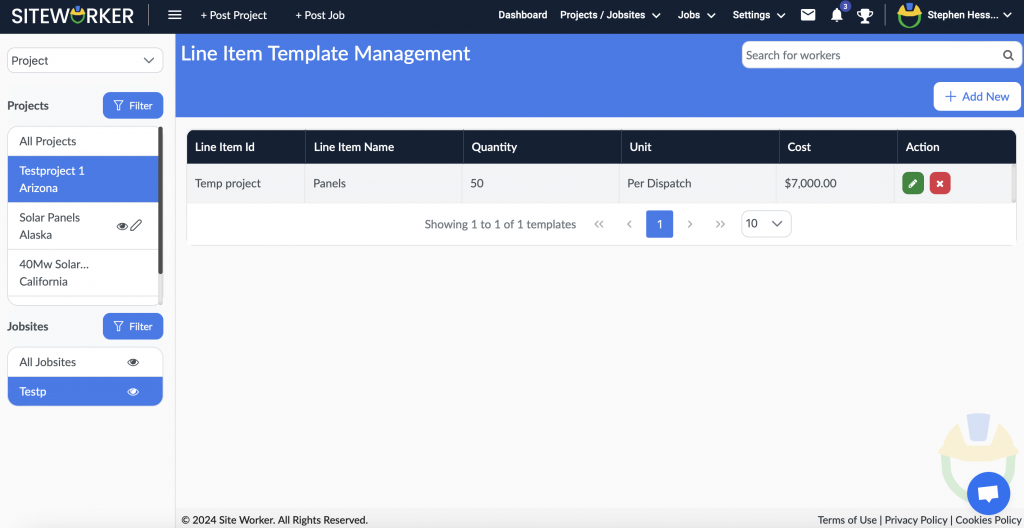
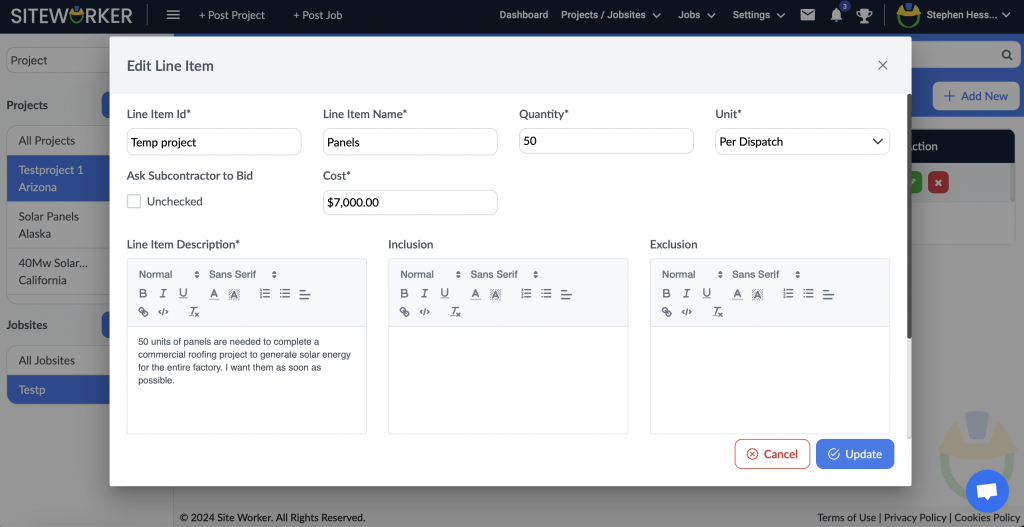
Step 5: If needed you can Edit and update the line item template. For this, click on green edit icon under Action.

Once edits are done, click on “Update.”


Now, you can add line items directly from the template without any need to fill everything from the start when posting a project or job site for a subcontractor.

